Install ECI Deb Packages
This section will help you set up a target system with Debian* or Ubuntu* and install ECI Deb packages.
Do the following:
Prepare Target to Install ECI Deb Packages
The section is applicable to:

To leverage all ECI features, the target system should meet the recommended system requirements. Also, the target system must have a compatible OS so that you can install ECI Deb packages.
This section explains the procedure to install a compatible OS on the target system.
Do the following to prepare the target system:
Install the AMD64 variant of either Debian 11 (Bullseye), Ubuntu 22.04 (Jammy Jellyfish), or the ECI installation images on to the target system. Refer to the following table for details:
Distribution
Description
Where to Download
Instructions
Debian
Open-source Debian 11 (Bullseye)
ECI installation image for
core-bullseye◆N/A
Ubuntu
Open-source Ubuntu 22.04 (Jammy Jellyfish)
ECI installation image for
core-jammy◆N/A
Note: ◆ These ECI installation images enable you to quickly get started with a blank canvas ready for customization. They are minimal builds of Debian or Ubuntu with the ECI Linux Intel LTS PREEMPT_RT kernel already installed and boot parameters already configured.
To achieve real-time determinism and utilize the available Intel® silicon features, you need to configure certain BIOS settings. Reboot the target system and access the BIOS (press the delete or F2 keys while booting to open the BIOS menu).
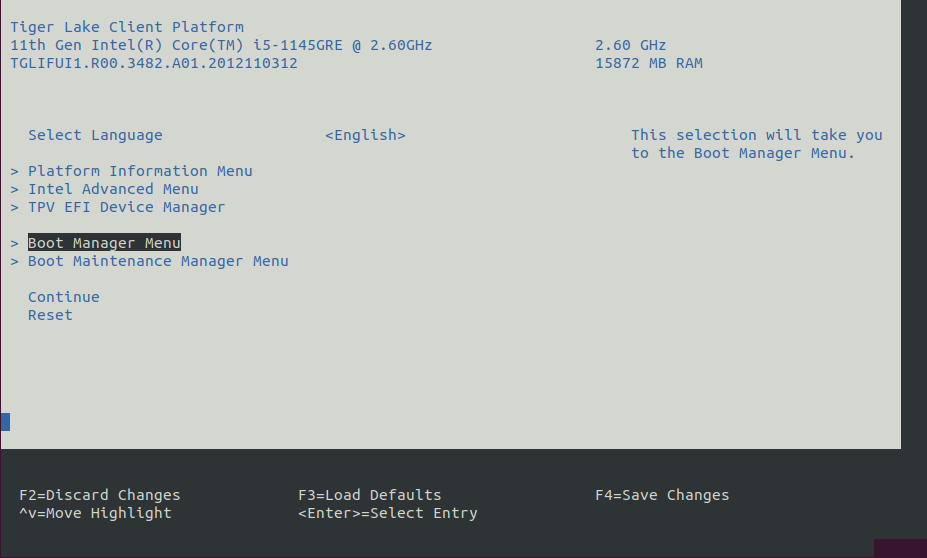
Select Restore Defaults or Load Defaults, and then select Save Changes and Reset. As the target system boots, access the BIOS again.
Modify the BIOS configuration as listed in the following table.
Note: The available configurations depend on the platform, BIOS in use, or both. Modify as many configurations as possible.
Setting Name
Option
Setting Menu
Hyper-Threading
Disabled
Intel Advanced Menu ⟶ CPU Configuration
Intel (VMX) Virtualization
Disabled
Intel Advanced Menu ⟶ CPU Configuration
Intel(R) SpeedStep
Disabled
Intel Advanced Menu ⟶ Power & Performance ⟶ CPU - Power Management Control
Turbo Mode
Disabled
Intel Advanced Menu ⟶ Power & Performance ⟶ CPU - Power Management Control
C States
Disabled
Intel Advanced Menu ⟶ Power & Performance ⟶ CPU - Power Management Control
RC6 (Render Standby)
Disabled
Intel Advanced Menu ⟶ Power & Performance ⟶ GT - Power Management Control
Maximum GT freq
Lowest (usually 100MHz)
Intel Advanced Menu ⟶ Power & Performance ⟶ GT - Power Management Control
SA GV
Fixed High
Intel Advanced Menu ⟶ Memory Configuration
VT-d
Disabled
Intel Advanced Menu ⟶ System Agent (SA) Configuration
PCI Express Clock Gating
Disabled
Intel Advanced Menu ⟶ System Agent (SA) Configuration ⟶ PCI Express Configuration
Gfx Low Power Mode
Disabled
Intel Advanced Menu ⟶ System Agent (SA) Configuration ⟶ Graphics Configuration
ACPI S3 Support
Disabled
Intel Advanced Menu ⟶ ACPI Settings
Native ASPM
Disabled
Intel Advanced Menu ⟶ ACPI Settings
Legacy IO Low Latency
Enabled
Intel Advanced Menu ⟶ PCH-IO Configuration
PCH Cross Throttling
Disabled
Intel Advanced Menu ⟶ PCH-IO Configuration
Delay Enable DMI ASPM
Disabled
Intel Advanced Menu ⟶ PCH-IO Configuration ⟶ PCI Express Configuration
DMI Link ASPM
Disabled
Intel Advanced Menu ⟶ PCH-IO Configuration ⟶ PCI Express Configuration
Aggressive LPM Support
Disabled
Intel Advanced Menu ⟶ PCH-IO Configuration ⟶ SATA And RST Configuration
USB Periodic SMI
Disabled
Intel Advanced Menu ⟶ LEGACY USB Configuration
Setup ECI APT Repository
A target running a compatible OS can install ECI Deb packages from a hosted ECI APT repository. Alternatively, you can privately host the ECI APT repository on your own local network with packages you built or packages from the ECI release archive.
To use the ECI APT repository, you will need an account on Intel® Developer Zone. Registering for a standard account is free and easy to complete.
If you encounter issues or have any questions while registering, contact the ECI team at eci-support@intel.com.
Do the following to create an Intel® Developer Zone account and access the ECI APT repository:
Access the ECI portal.
In the Developer Zone page that appears, click Register now for Standard access if you do not have an Intel® Developer Zone account yet.
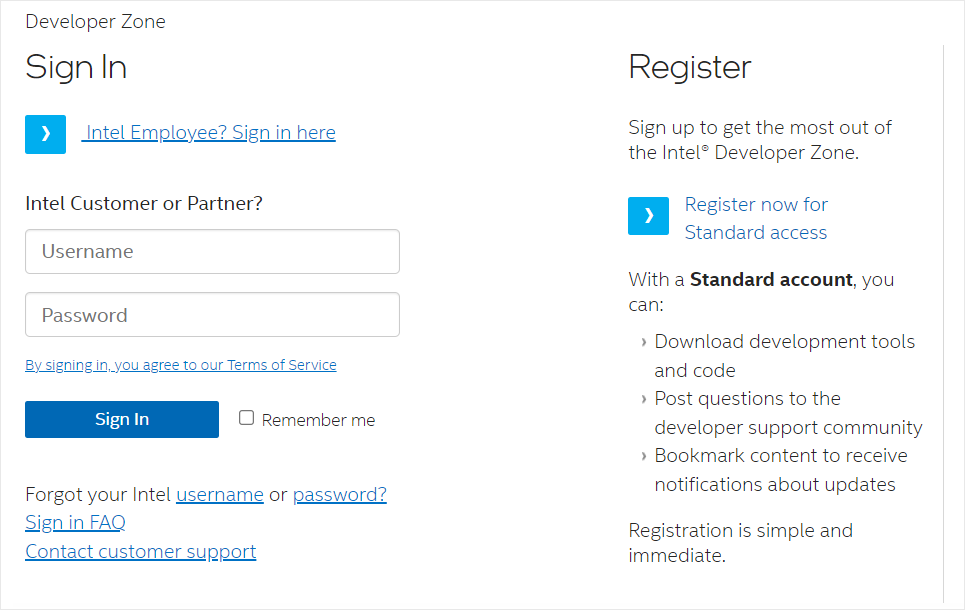
Enter your name, company email, and username in the registration form. Fill in other required information and complete the registration.

After creating an Intel® Developer Zone account, access the ECI portal again. Sign in to your account.
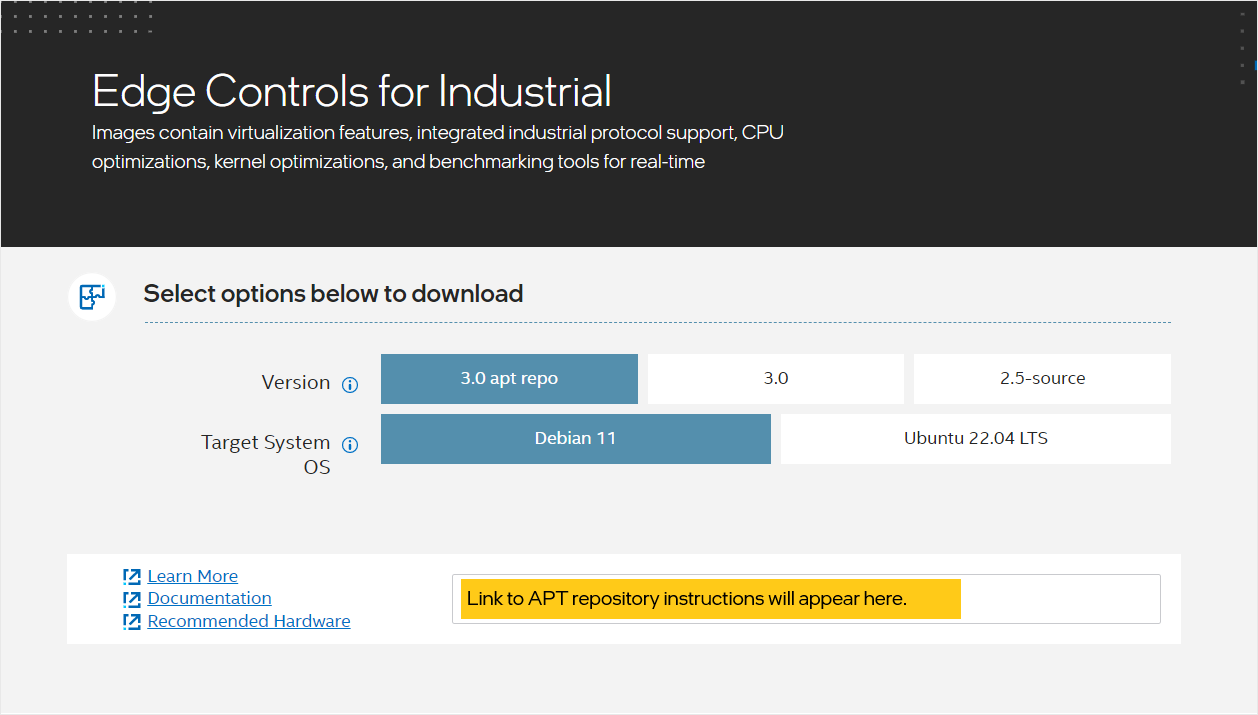
After signing in, you should see the Edge Controls for Industrial page with options to download. To use the ECI APT repository, select 3.0 apt repo. Then, select the Target System OS, either Debian 11 or Ubuntu 22.04 LTS. After you select Version and Target System OS, you will see a box with a link. This link provides instructions for setting up the ECI APT repository. Copy the link and paste it in your web browser. Complete the steps on the page (Setup the ECI APT Repository).
This section explains the procedure to use the Linux build system to privately host the ECI APT repository on the local network and configure the APT package manager to use the privately hosted ECI APT repository.
Before setting up the Linux* build system, make sure that:
The Linux build system meets the recommended system requirements.
Docker* (version 19.03.15 or higher) is installed and the user is part of the
dockergroup. For information on installing and configuring Docker, refer to the following:
Note: If you are behind a proxy, make sure that you set the following environment variables: HTTP_PROXY, HTTPS_PROXY, and NO_PROXY.
The section is applicable to:

Do the following to set up a Linux build system:
Download the ECI release archive, if not done already.
Copy the
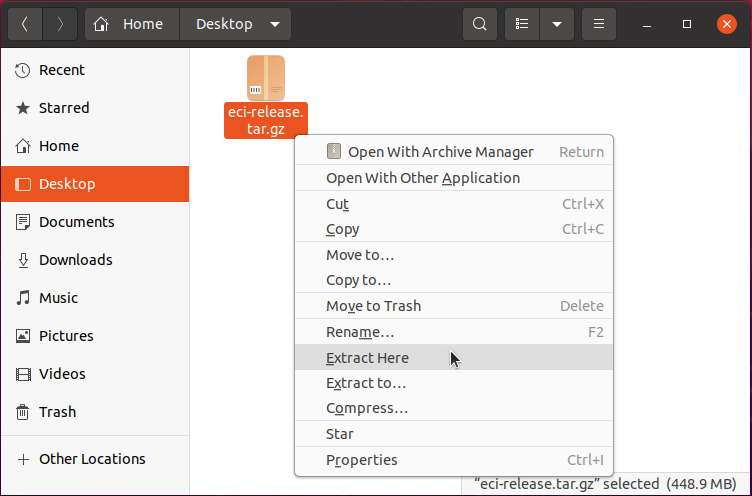
eci-release.tar.gzarchive from the ECI release archive (release-eci_#.#.zip) to the Linux build system. Make sure that there are no spaces in the directory path. For example, copy the archive to ~/Desktop. Theeci-release.tar.gzarchive is located in the ECI release archive within theEdge-Controls-for-Industrialdirectory as follows:└── Edge-Controls-for-Industrial ├── Codesys_Example_Applications.zip ├── Dockerfiles.tar.gz └── eci-release.tar.gz
Extract the archive. In Ubuntu, right-click the archive and select Extract Here.
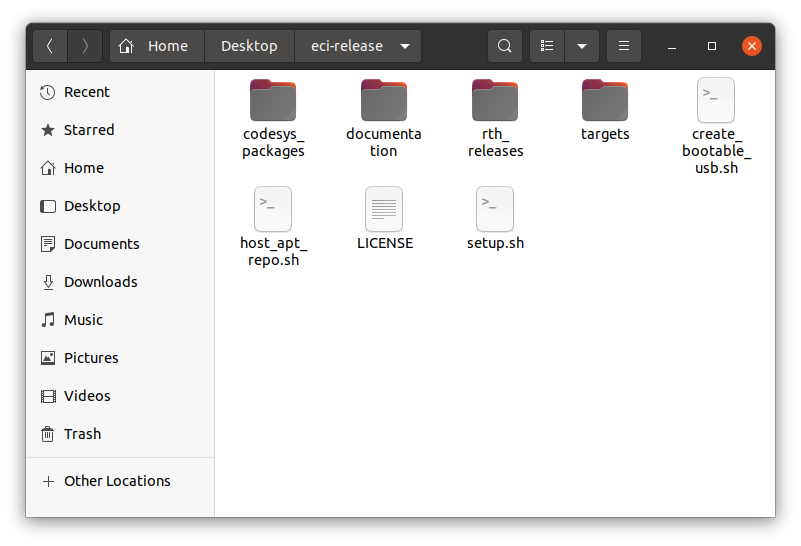
The directory contents should be similar to the following:
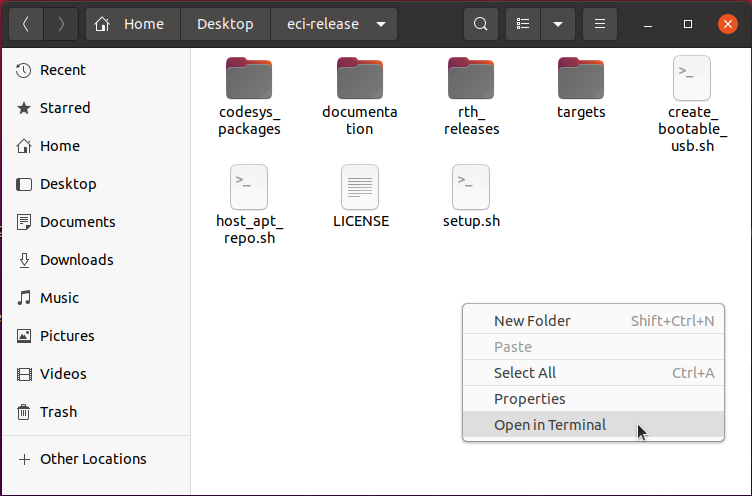
On the Linux build system, open a terminal to the eci-release directory. In Ubuntu, right-click anywhere in the directory explorer and select Open in Terminal.
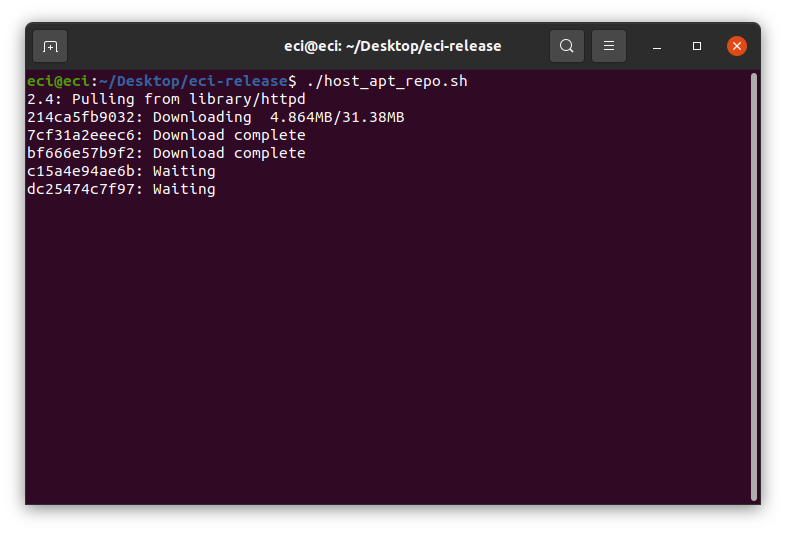
At the terminal prompt, run the
host_apt_repo.shscript without any parameters:$ ./host_apt_repo.sh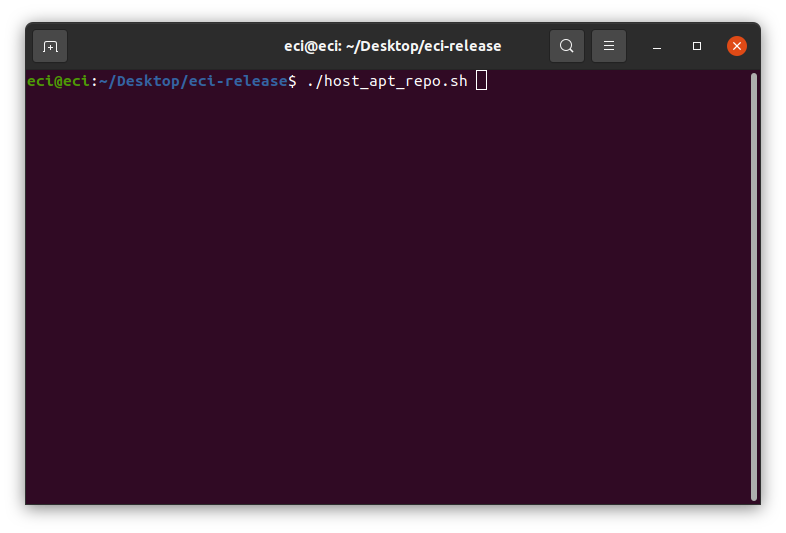
A menu will be displayed based on either of the following scenarios:
You are installing ECI Deb packages provided with the ECI release
You are installing ECI Deb packages from a local build
Click the corresponding tab to continue.
The menu will display APT repository options for both Debian and Ubuntu:
ECI packages for bullseye: ECI Deb packages provided with the ECI release for Debian 11 (Bullseye)ECI packages for jammy: ECI Deb packages provided with the ECI release for Ubuntu 22.04 (Jammy Jellyfish)
Select an option corresponding to the OS installed on the target system (Bullseye or Jammy Jellyfish).

The menu will display the APT repository options for both Debian and Ubuntu.
If you have built either core-bullseye or core-jammy, select the corresponding option:
ECI packages for bullseye: ECI Deb packages provided with the ECI release for Debian 11 (Bullseye)ECI packages for jammy: ECI Deb packages provided with the ECI release for Ubuntu 22.04 (Jammy Jellyfish)
The
Local buildoptions are available only if you have built ECI targets packages-bullseye or packages-jammy.Local build (packages-bullseye): ECI Deb packages created from building packages-bullseye locally for Debian 11 (Bullseye)Local build (packages-jammy): ECI Deb packages created from building packages-jammy locally for Ubuntu 22.04 (Jammy Jellyfish)
Select a
Local buildoption corresponding to the OS installed on the target system (Bullseye or Jammy Jellyfish).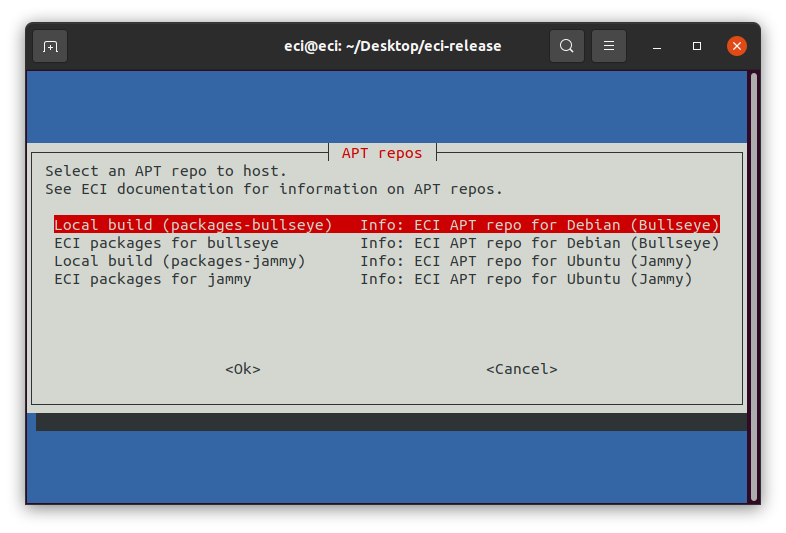
A Docker* container with the Apache HTTP web server will open port 8080 and host the ECI APT repository on the network. If port 8080 is in use or restricted, edit the script and change the port assigned to the
HTTPD_PORTvariable (available at the beginning of the script). If any errors regarding Docker occur, refer to Setup Notifications for common resolutions.Attention
Hosting APT repositories using this method is not inherently secure! Production deployments should use security measures according to the environment and exposure.
When the APT repository server is ready, the script will display a few commands. In a later step, these commands will be executed on a target system.
Note: The target system must be connected to the same network used by the APT repository server and be able to connect to the port in use (default 8080).
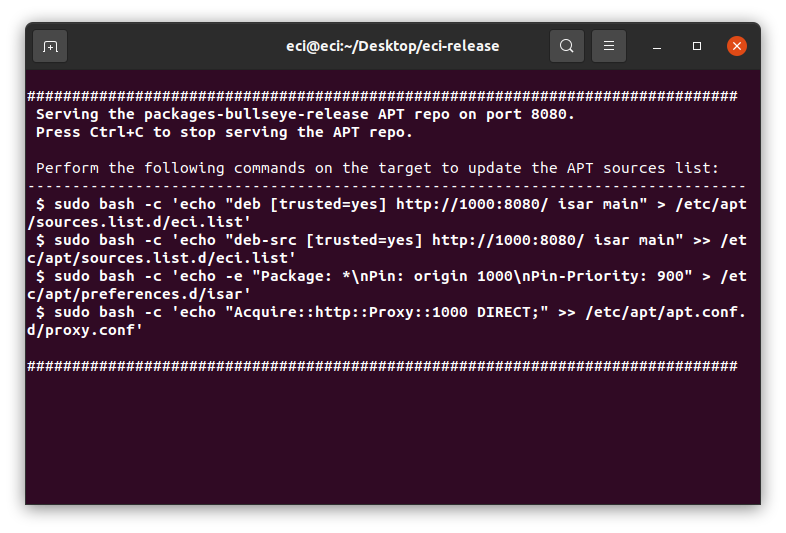
The APT repository server will continue to run until you stop it. When stopped, target systems will not be able to download ECI Deb packages from this APT repository server. To stop the APT repository server, press Ctrl + C on the keyboard.
The section is applicable to:
Copy the GPG key
GPG-PUB-KEY-INTEL-ECI.gpgfrom the eci-release directory to the target system. This enables the ECI APT repository to be integrity verified, enhancing security.$ sudo cp GPG-PUB-KEY-INTEL-ECI.gpg /etc/apt/trusted.gpg.d/
Note:
It is not mandatory to add the GPG key. However, without the key, the APT package manager will display a warning that it could not verify signatures:
W: GPG error: http://10.0.2.15:8080/ isar Release: The following signatures couldn't be verified because the public key is not available: NO_PUBKEY 6350B922F48AD0FCRun the commands, displayed by the
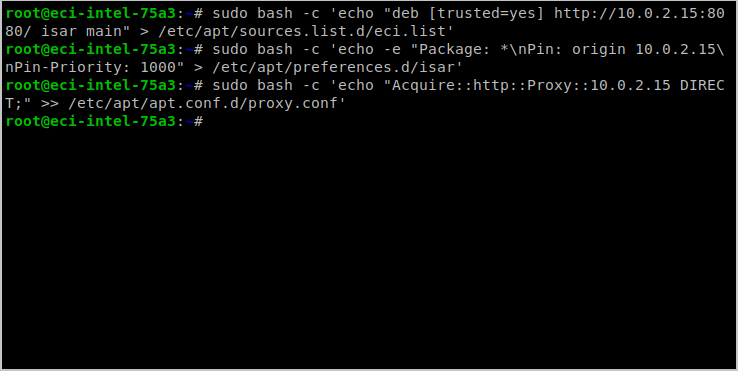
host_apt_repo.shscript on the target system.In this example, the following commands were executed:
sudo bash -c 'echo "deb [trusted=yes] http://10.0.2.15:8080/ isar main" > /etc/apt/sources.list.d/eci.list'
sudo bash -c 'echo "deb-src [trusted=yes] http://10.0.2.15:8080/ isar main" >> /etc/apt/sources.list.d/eci.list'
sudo bash -c 'echo -e "Package: *\nPin: origin 10.0.2.15\nPin-Priority: 1000" > /etc/apt/preferences.d/isar'
sudo bash -c 'echo "Acquire::http::Proxy::10.0.2.15 DIRECT;" >> /etc/apt/apt.conf.d/proxy.conf'
Install ECI Real-time Linux Kernel
The section is applicable to:

Make sure that you have setup the ECI APT repository.
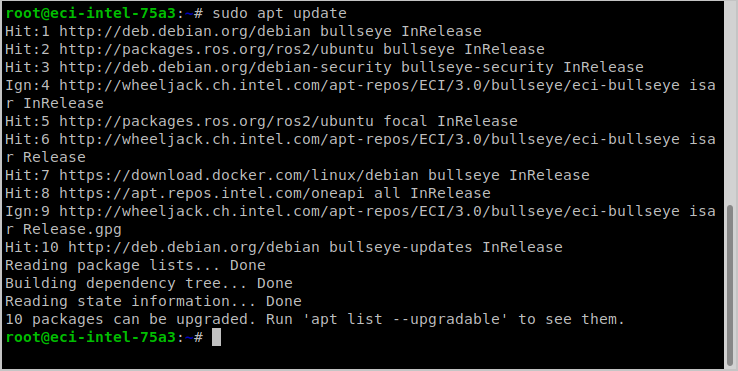
Before using the ECI APT repository, update the APT packages list:
$ sudo apt update

The APT package manager will download the latest list of packages available for all configured repositories.
Tip
If the APT package manager is unable to connect to the repositories, follow these APT troubleshooting tips:
Make sure that the system has network connectivity.
Make sure that the ports
80and8080are not blocked by a firewall.Configure an APT proxy (if network traffic routes through a proxy server). To configure an APT proxy, add the following lines to a file at
/etc/apt/apt.conf.d/proxy.conf(replace the placeholders as per your specific user and proxy server):Acquire::http::Proxy "http://user:password@proxy.server:port/"; Acquire::https::Proxy "http://user:password@proxy.server:port/";
ECI provides Deb packages named
customizations-grub,customizations-system, andcustomizations-net, which adds a GRUB menu entry for ECI and prepares the system to be deterministic. Install thecustomizations-*packages:$ sudo apt install -y customizations-grub customizations-system customizations-net
Next, install the ECI real-time Linux kernel. There are two options available: Linux Intel LTS PREEMPT_RT kernel and Linux Intel LTS Xenomai Dovetail kernel. It is recommended that you start with Linux Intel LTS PREEMPT_RT kernel, if you do not know which option to choose.
Click the corresponding tab to know more.
Linux Intel LTS PREEMPT_RT kernel is Intel’s Long-Term-Support kernel with PREEMPT_RT patches.
$ sudo apt install -y linux-intel-rt
Linux Intel LTS Xenomai Dovetail kernel is Intel’s Long-Term-Support kernel with Xenomai patches.
$ sudo apt install -y eci-xenomai
Reboot the target system.
$ sudo reboot
What Next after Installing ECI Real-time Linux Kernel
After installing the ECI real-time Linux kernel, proceed to Complete and Verify Deployment.