Install ECI Image with Yocto-based ACRN (Legacy)
After building the legacy legacy-poky-acrn image you are ready to install the image on a target system.
To deploy the image on a target system, you need to:
Create Legacy Bootable USB (ACRN)
The following steps are applicable to:

Do the following to create a bootable USB, which you will later use to build and install legacy-poky-acrn:
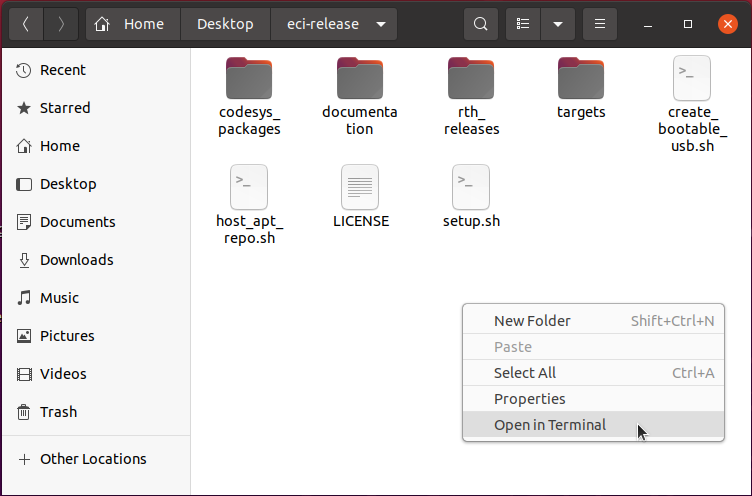
Open a terminal to the ECI directory. In Ubuntu*, you can right-click an empty space in the directory explorer and select Open in Terminal.
Insert a USB drive with at least 12GB capacity into the Linux build system.
Note: For best performance, use a USB 3.1 (or greater) device and port.
Warning
All data on the USB mass storage device will be erased!
At the terminal prompt, run the provided create_bootable_usb.sh script:
./create_bootable_usb.sh
If the message “Please run as root” appears, run the script again with
sudo:sudo ./create_bootable_usb.sh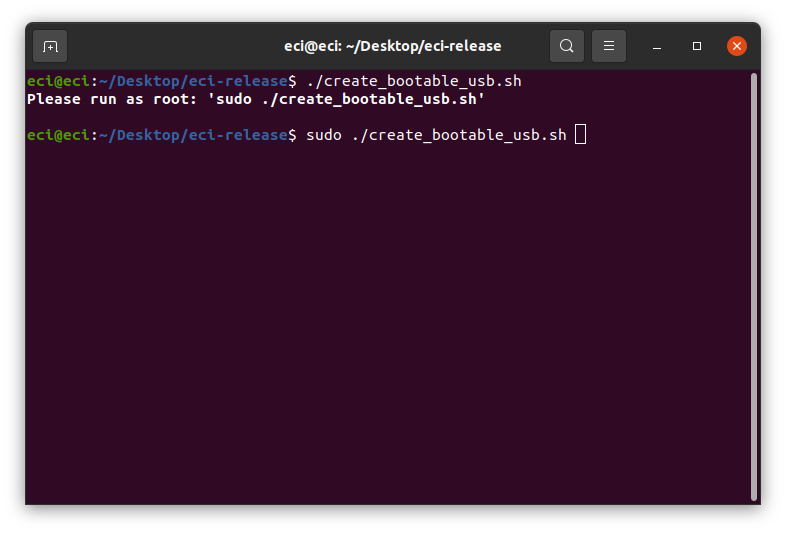
If no ECI images have been built yet, the script will display the message:
No built images found. Refer to legacy-poky-acrn and build alegacy-poky-acrnimage. Then, run thecreate_bootable_usb.shscript.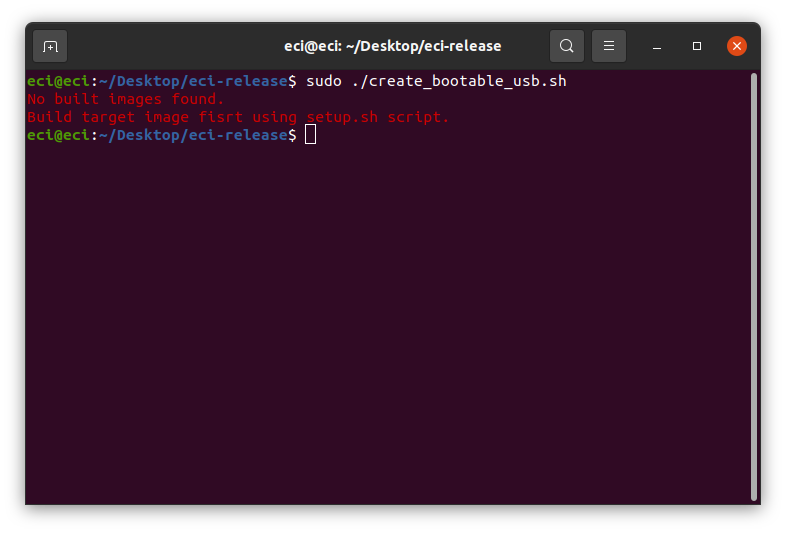
The script will display a list of available ECI images. Enter
legacy-poky-acrn.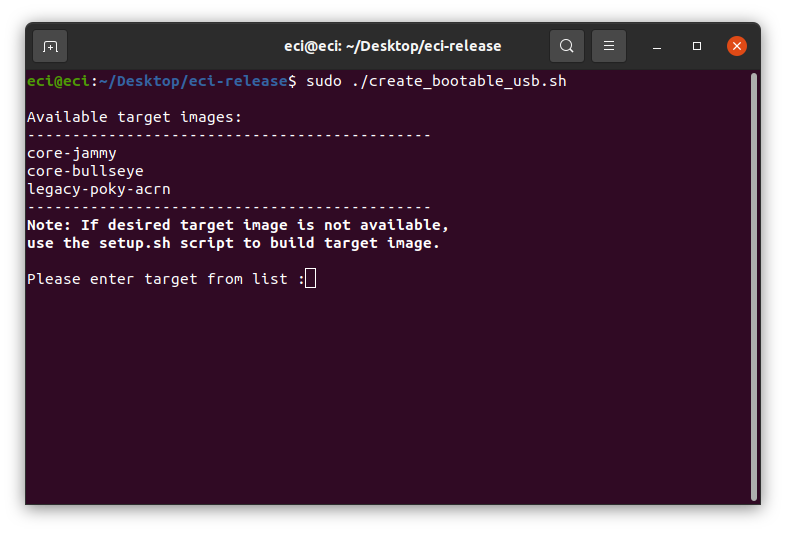
If a mass storage device cannot be located, the script will display the message:
ERR: No removable mass storage devices found. Insert a USB drive with at least 12GB capacity into the Linux build system and run thecreate_bootable_usb.shscript again.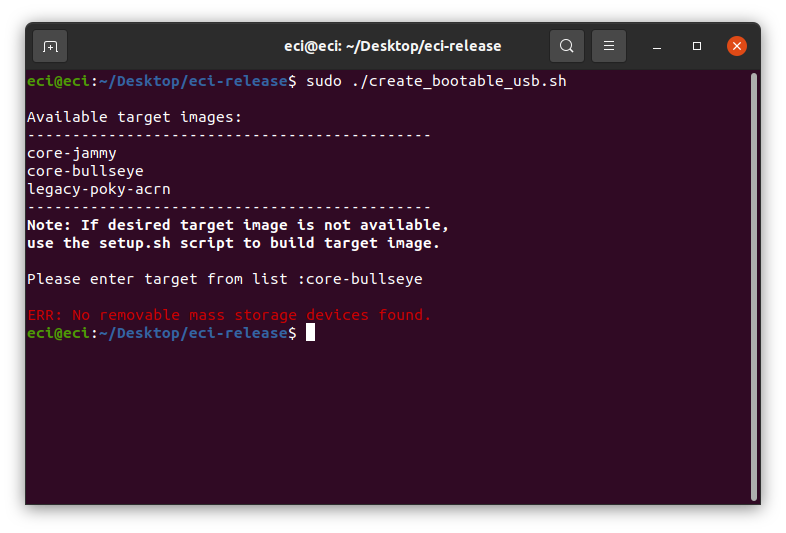
The script will display a list of available removable mass storage devices.
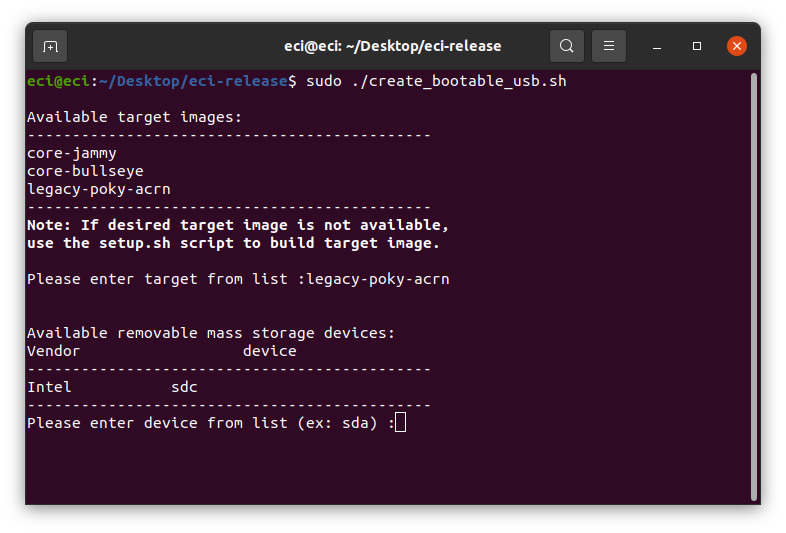
Enter the name of a device from the displayed list. In this example, the device name displayed is
sdc.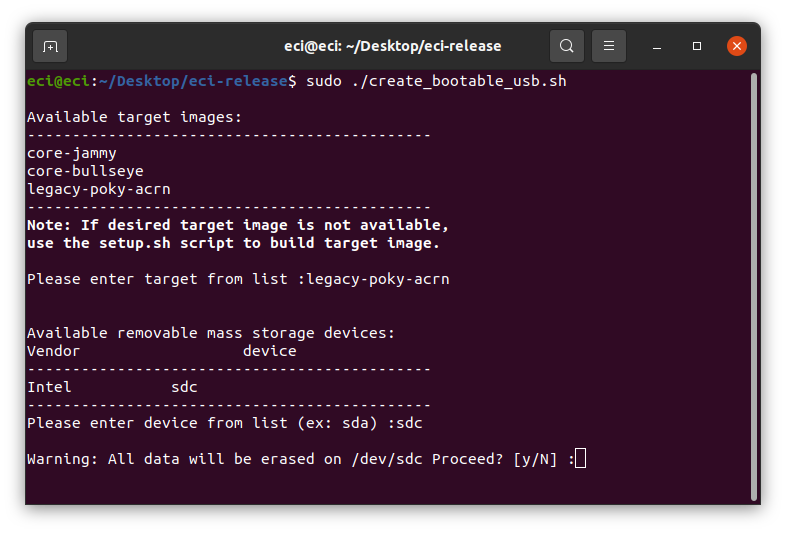
When the warning,
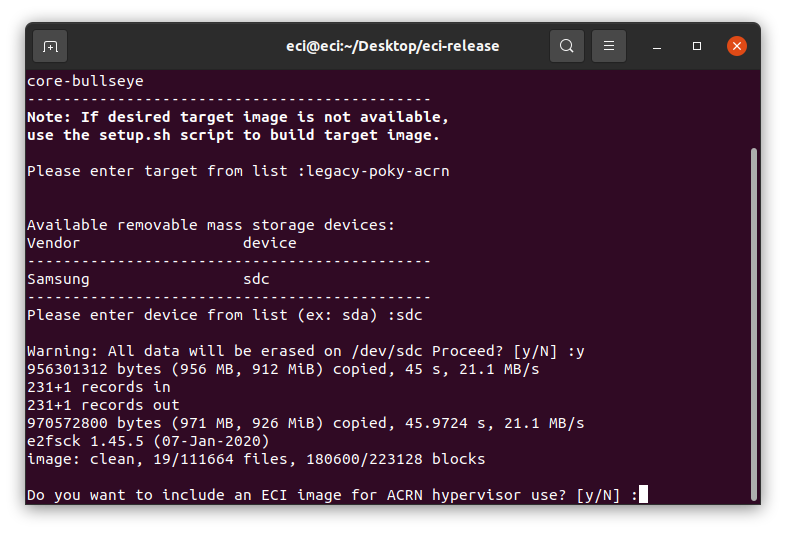
Warning All data will be erased on <device> Proceed? [y/N], enter y to proceed. The target ECI image will be written to the removable mass storage device.At this point, the USB is ready to use. However, an additional prompt may appear:
Do you want to include an ECI image for ACRN hypervisor use? [y/N].The prompt will not be displayed, if either of the following scenarios exist:
An ECI image is already embedded for VM use. In this case, there is no need to perform additional steps. Click this link to proceed.
An ECI image is not yet embedded for VM use, and there are no ECI images available to be embedded. If you want to embed an ECI image embedded for VM use, refer to Build ECI and build additional ECI targets. Then, run the create_bootable_usb.sh script again.
If the prompt is displayed, then an ECI image is not yet embedded for VM use, and there are ECI images available to be embedded. Continue with the following steps:
Click the corresponding tabs to learn more:
You can use the
legacy-poky-acrnimage as-is, without embedding an ECI image for VM use. You can always add VM images after thelegacy-poky-acrnimage is installed on the target system. To proceed with this option, enter n at the prompt.After the script completes, you will have a USB drive that can install the
legacy-poky-acrnimage. Eject the USB drive from the Linux build system. Follow the section Configure Target System BIOS to continue.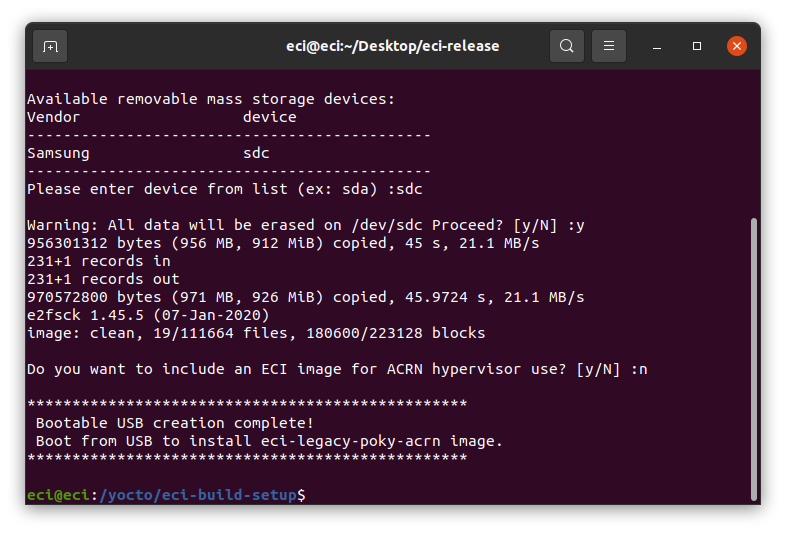
An ECI image can be embedded for VM use. To proceed with this option, enter y at the prompt.
The script will display a list of available ECI images. Enter an image name from the list. For example, enter
core-bullseye.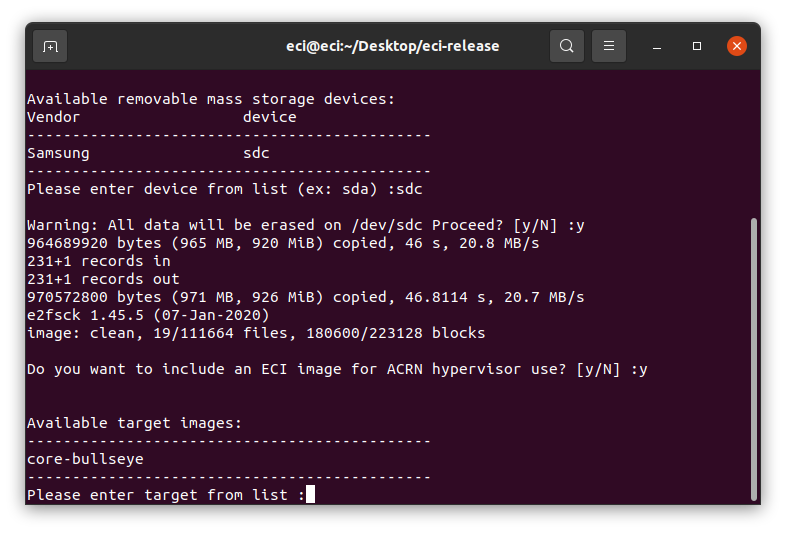
The script will perform a series of operations. These operations might take up to 30 minutes (or more) to complete depending on the read/write throughput of the hardware in use. After the script completes, you will have a bootable USB drive that can install the
legacy-poky-acrnimage (with the embedded ECI image). Eject the USB drive from the Linux build system. Follow the section Configure Target System BIOS to continue.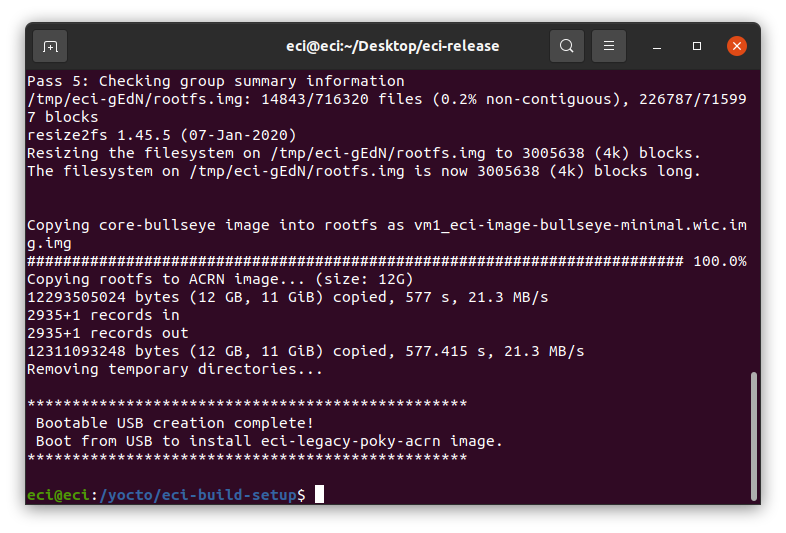
Configure Target System BIOS (ACRN)
The following section is applicable to:

To use boot and use ACRN, certain BIOS settings need to be configured. Do the following:
Boot the target system and access the BIOS (typically pressing the delete or F2 keys while booting will open the BIOS menu).
Select Restore Defaults or Load Defaults and then select Save Changes and Reset. As the target system is booting, access the BIOS again (as per Step 1).
Modify the BIOS configuration as listed in the following table.
Note: The available configurations depend on the platform, BIOS in use, or both. In this case, modify as many configurations as possible.
Setting Name
Option
Setting Menu
Hyper-Threading
Disabled
Intel Advanced Menu ⟶ CPU Configuration
Intel (VMX) Virtualization
Enabled
Intel Advanced Menu ⟶ CPU Configuration
Intel(R) SpeedStep
Disabled
Intel Advanced Menu ⟶ Power & Performance ⟶ CPU - Power Management Control
Turbo Mode
Disabled
Intel Advanced Menu ⟶ Power & Performance ⟶ CPU - Power Management Control
C States
Disabled
Intel Advanced Menu ⟶ Power & Performance ⟶ CPU - Power Management Control
RC6 (Render Standby)
Disabled
Intel Advanced Menu ⟶ Power & Performance ⟶ GT - Power Management Control
VT-d
Enabled
Intel Advanced Menu ⟶ System Agent (SA) Configuration
Above 4GB MMIO BIOS assignment
Disabled
Intel Advanced Menu ⟶ System Agent (SA) Configuration
PM Support
Enabled
Intel Advanced Menu ⟶ System Agent (SA) Configuration ⟶ Graphics Configuration
DVMT Pre-Allocated
64M
Intel Advanced Menu ⟶ System Agent (SA) Configuration ⟶ Graphics Configuration
After modifying the BIOS configuration, save the configuration. Follow the section Boot and Install (ACRN) to continue.
Boot and Install (ACRN)
The following steps are applicable to:
Insert the bootable USB drive created earlier (see section Create Legacy Bootable USB (ACRN)) into the target system.
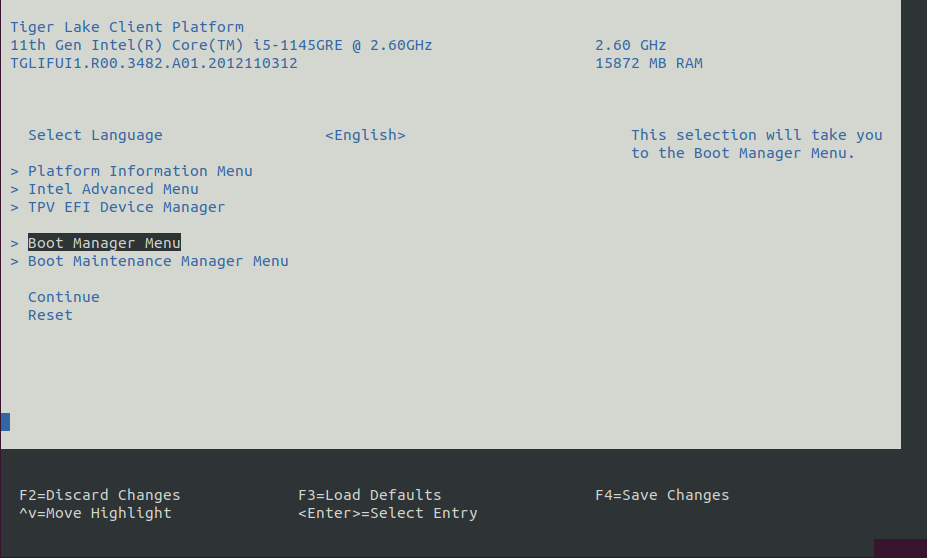
Reboot the target system and access the BIOS (typically pressing the delete or F2 keys while booting will open the BIOS menu).
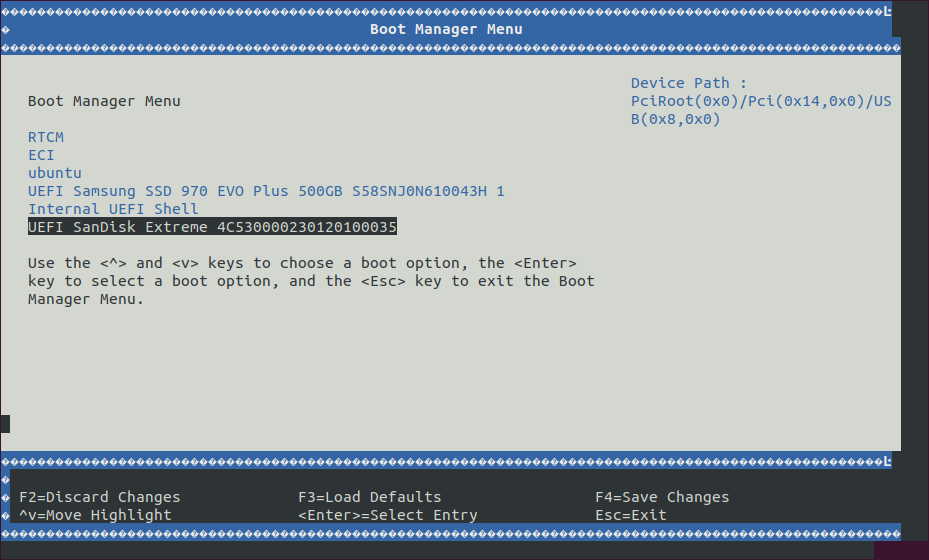
At the BIOS menu, navigate to the Save & Exit tab or open the Boot Manager Menu. On this page, you should see an entry with the prefix “UEFI …”. Select the entry that looks like: UEFI: <vendor>…, where
<vendor>is the vendor of the USB drive.Note: If the USB device does not appear in the boot menu, you might need to enable “Legacy USB Support” in BIOS. Configure the following BIOS setting, then reboot the system for the changes to take effect:
Setting Name
Option
Setting Menu
Legacy USB Support
Enabled
Intel Advanced Menu ⟶ USB Configuration ⟶ Legacy USB Support
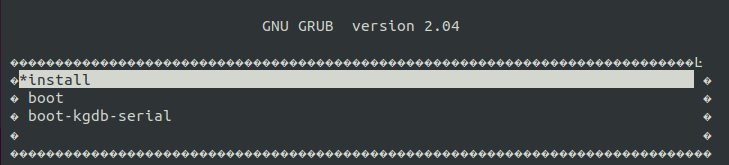
The system will boot from the USB drive. A boot menu will appear with a few options. Choose the “install” option.
The system will begin the installation process. During the installation, you will be prompted to:
Please select an install target or press n to exit. Enter an available install target (make sure that the target is correct). For example, entersdb.If you see the prompt:
/dev/sdb# contains a ext4 file system … Proceed anyway? (y,N), press y at the prompt.After the installation is complete, remove the USB drive and press Enter on the keyboard to reboot the system.
Let the system boot completely. Select
ACRNfrom the GRUB menu (this option will automatically be selected after 5 seconds).Note: The
Linuxoption in the GRUB menu boots the Linux kernel and Service OS without the ACRN hypervisor. This can be useful to help diagnose boot or hardware issues if using a custom platform (see: Compile ACRN for Different Platforms).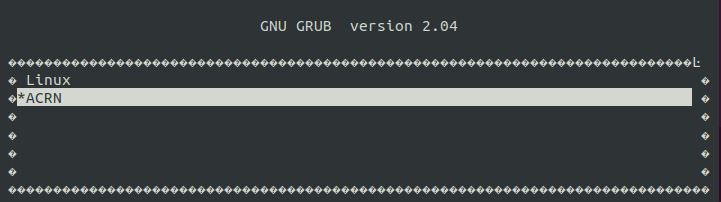
A login prompt will eventually appear. Login with user
root. At the terminal prompt, type:uname -a. Check the build date to make sure that the image is correct.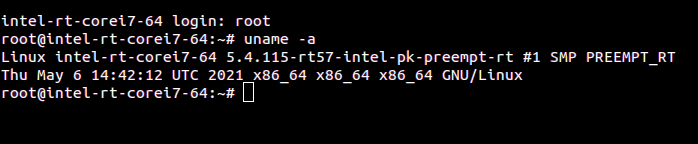
Verify that ACRN hypervisor is active by using the command
dmesg | grep ACRNThe output should be similar to the following:
# dmesg | grep ACRN
[    0.000000] Hypervisor detected: ACRN
See also
Refer to Launch Virtual Machines to start using ACRN.