Virtualize ECI Images with KVM
This section explains a method to virtualize ECI images core-bullseye and core-jammy with KVM. This method is helpful in developing solutions when a dedicated target system is unavailable, or it is inconvenient to develop on.
Prerequisites to Virtualize ECI Images
Install KVM and Virtual Machine Manager (
virt-manager):$ sudo apt install qemu-system-x86 libvirt-daemon-system virt-manager
Build an ECI image (core-bullseye or core-jammy).
Install ECI Image into KVM
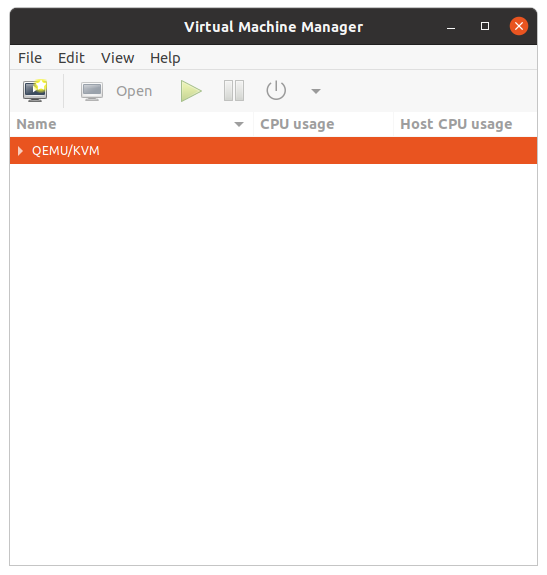
Open Virtual Manager:
$ sudo virt-manager
Follow the menu path File > New Virtual Machine.
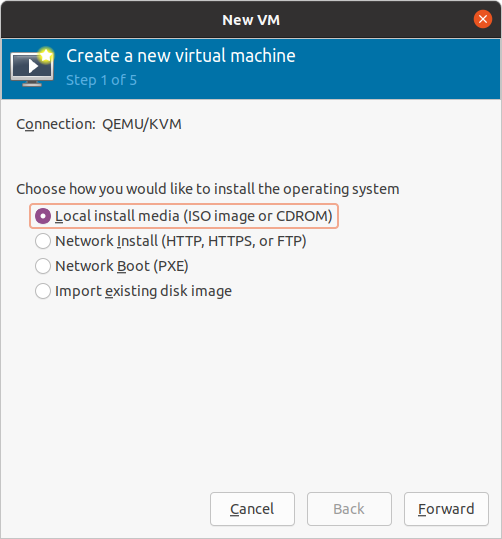
In Step 1 of 5, select Local install media (ISO image or CDROM) from the available options. Click Forward.
In Step 2 of 5, browse for the core-bullseye or core-jammy
*wic.imgimage. The built images are located at:eci-release/build/ecs-<build_target>/build/tmp/deploy/images/intel-corei7-64/*.wic.img. Enter Generic default as the operating system type. Click Forward.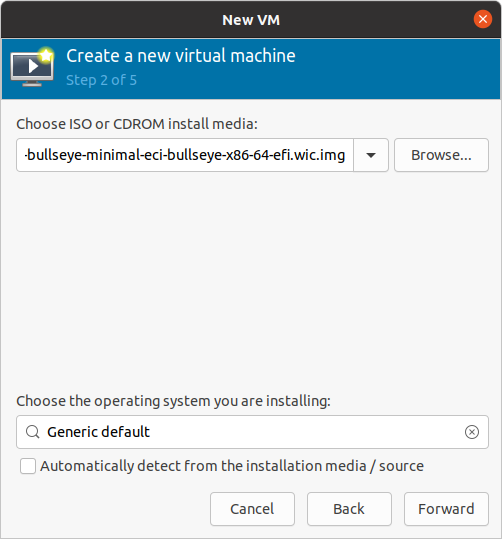
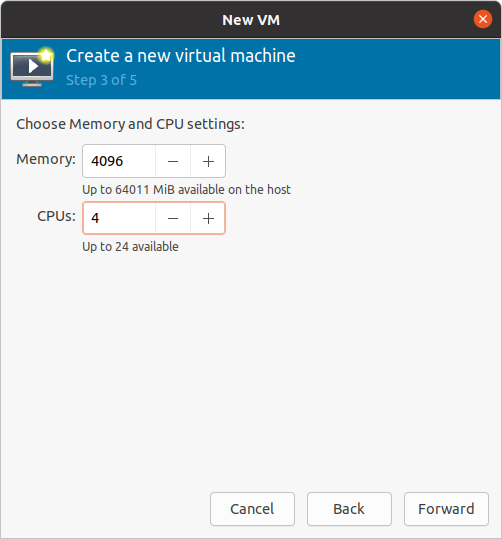
In Step 3 of 5, set the amount of Memory and CPUs to be allocated to the virtual machine (VM). It is recommended to allocate at least 4 GB memory. Click Forward.
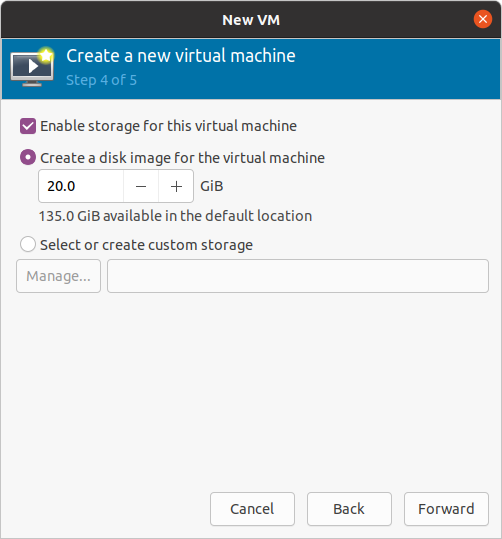
In Step 4 of 5, create a new disk image for this VM. Size the disk based on the requirements of the application. Graphical applications or use of containers typically require more disk space. Click Forward.
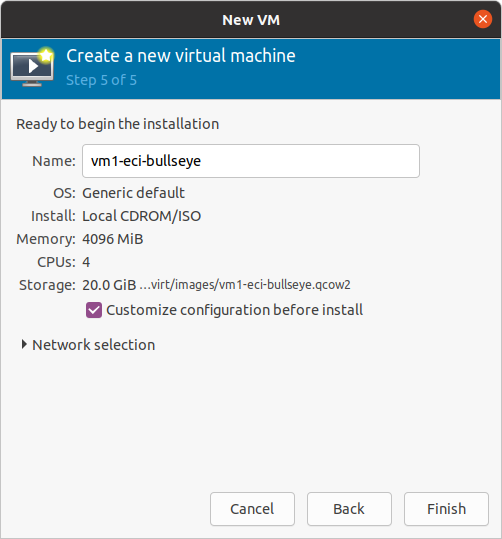
In Step 4 of 5, provide a unique name to the VM. It is recommended to choose a name that identifies the image. Select Customize configuration before install. Click Finish.
A dialog with the VM configuration details will open. Click Overview from the navigation list, then select
Q35from the Chipset drop-down, andUEFI x86_64: /usr/share/OVMF/OVMF_CODE.fdfrom the Firmware drop-down.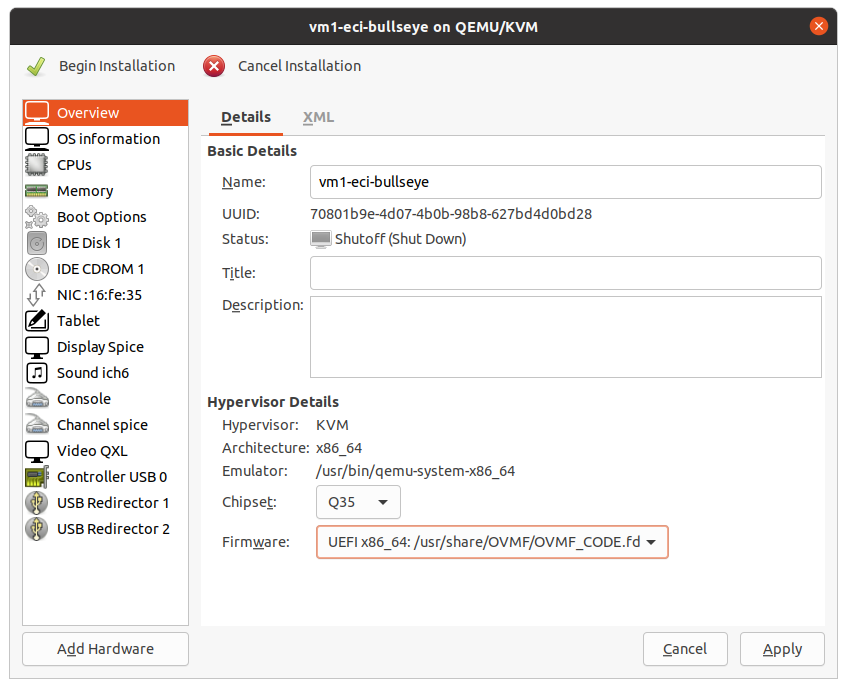
Click IDE Disk 1 from the navigation list, then select
SATAfrom the Disk bus drop-down. Click Apply.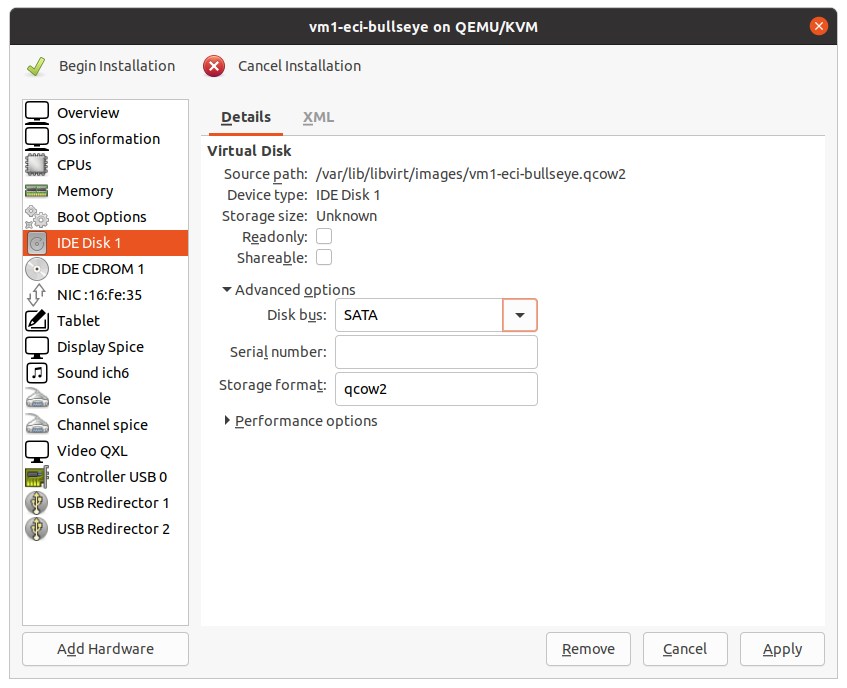
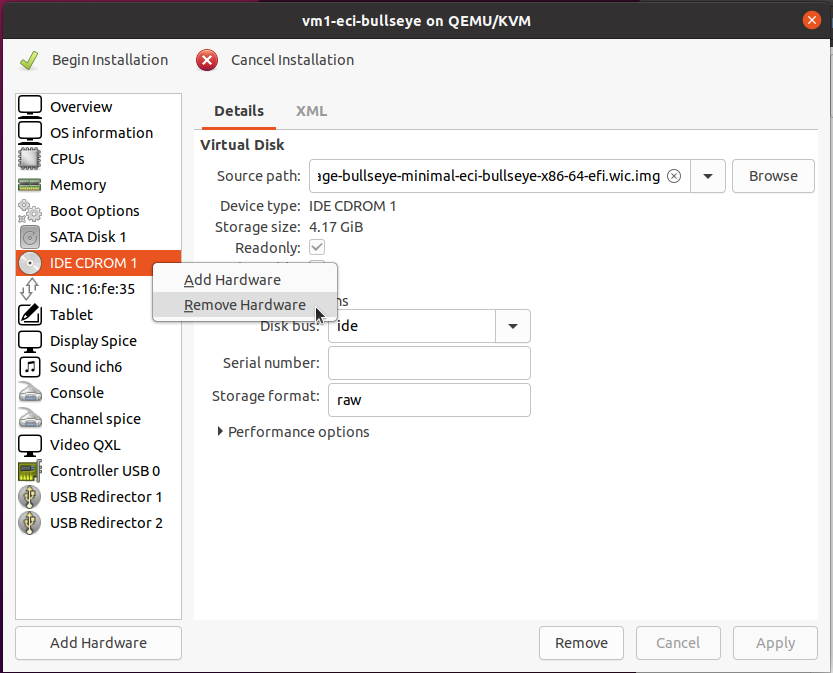
Right-click IDE CDROM 1 from the navigation list, then select Remove Hardware from the context menu.
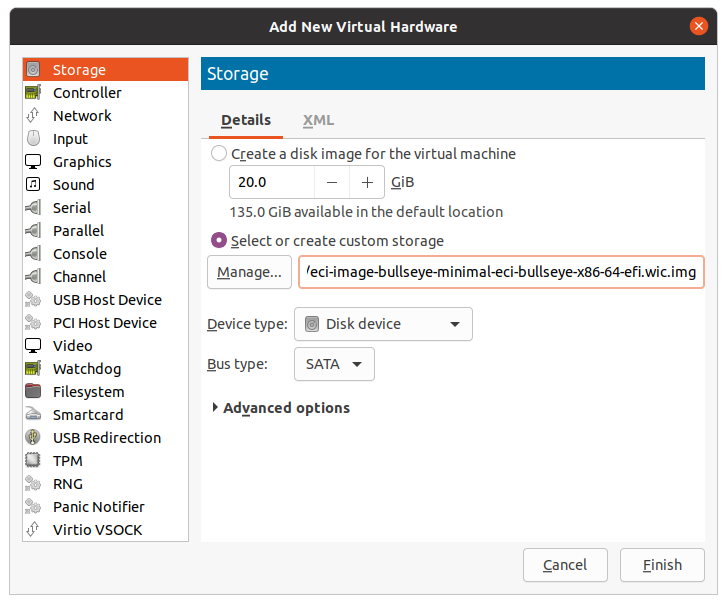
Click Add Hardware. Add a new storage device:
Choose the Select or create custom storage option.
Select the ECI image to install in the VM.
Select Disk device from the Device type drop-down.
Select
SATAfrom the Bus type drop-down.Click Finish to add the new storage device.
Click Boot Options from the navigation list. From the Boot device order list, clear
SATA Disk 1and checkSATA Disk 2. Click Apply.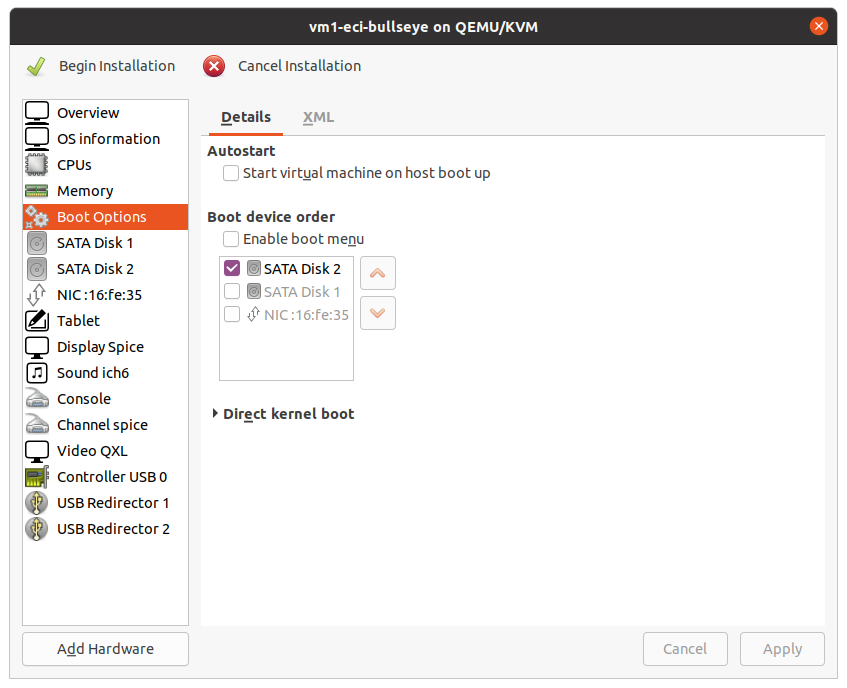
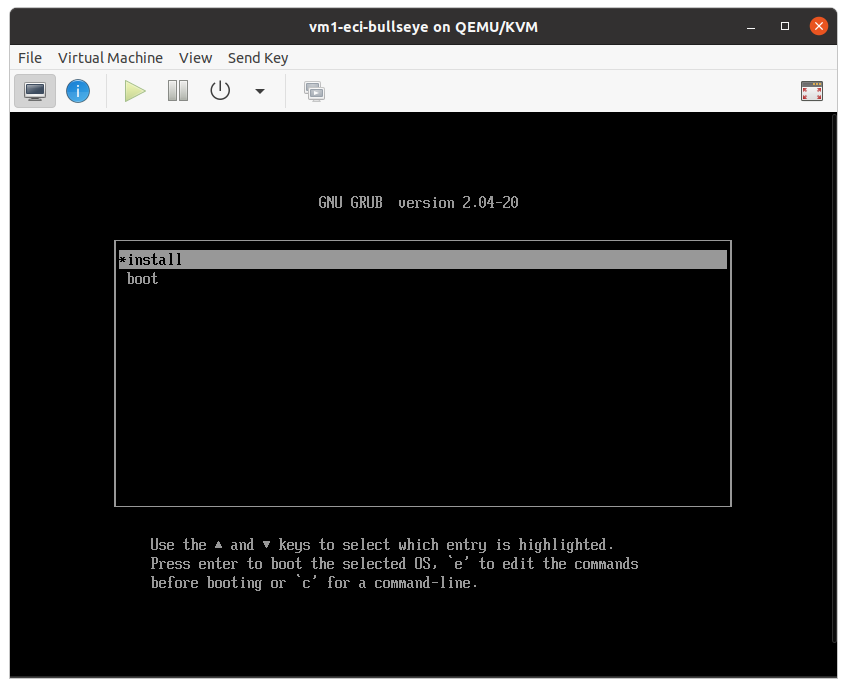
Click Begin Installation to boot the VM. When the GRUB menu appears, select install from the list of options.
The ECI installer will boot and should find the empty storage device. You will be prompted to enter the name of the storage device. Enter
sdawhen prompted.
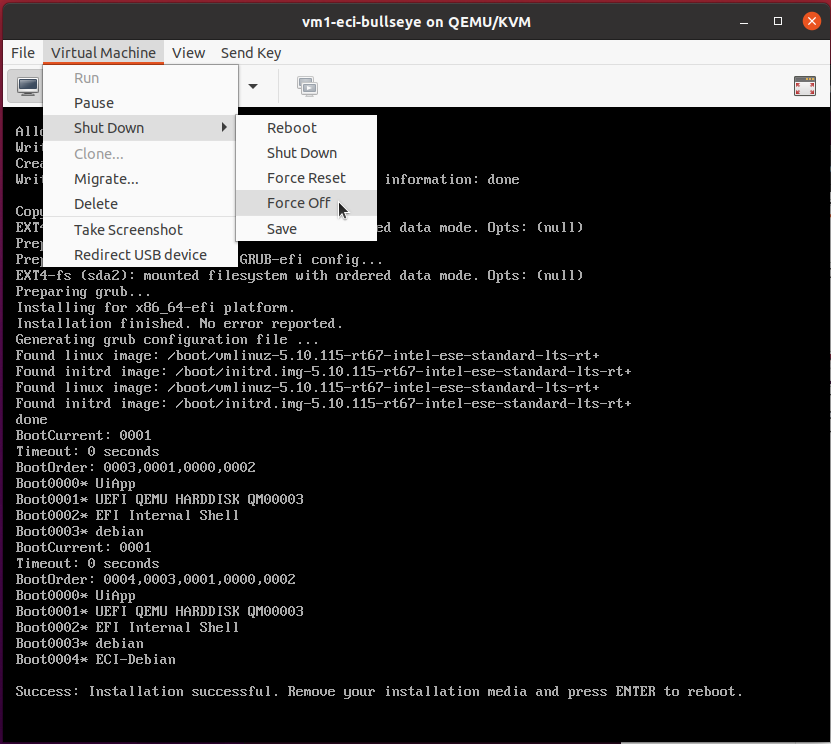
Wait for the installation to complete. The installer should output “Success: Installation successful…”. At this point, Select Force Off from the Virtual Machine > Shut Down menu.
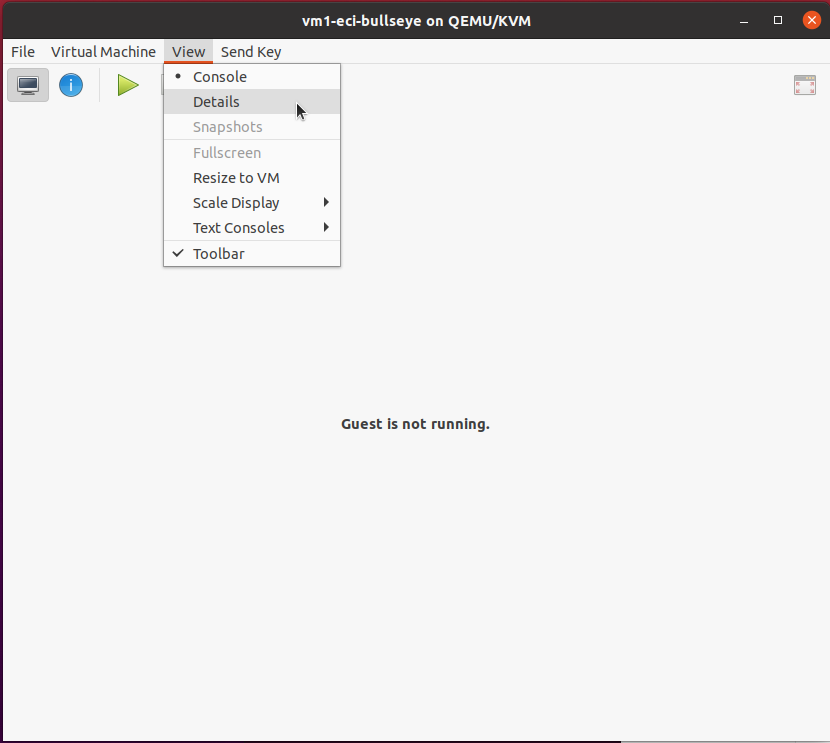
Select Details from the View menu.
Right-click
SATA Disk 2item from the navigation list, then select Remove Hardware from the context menu.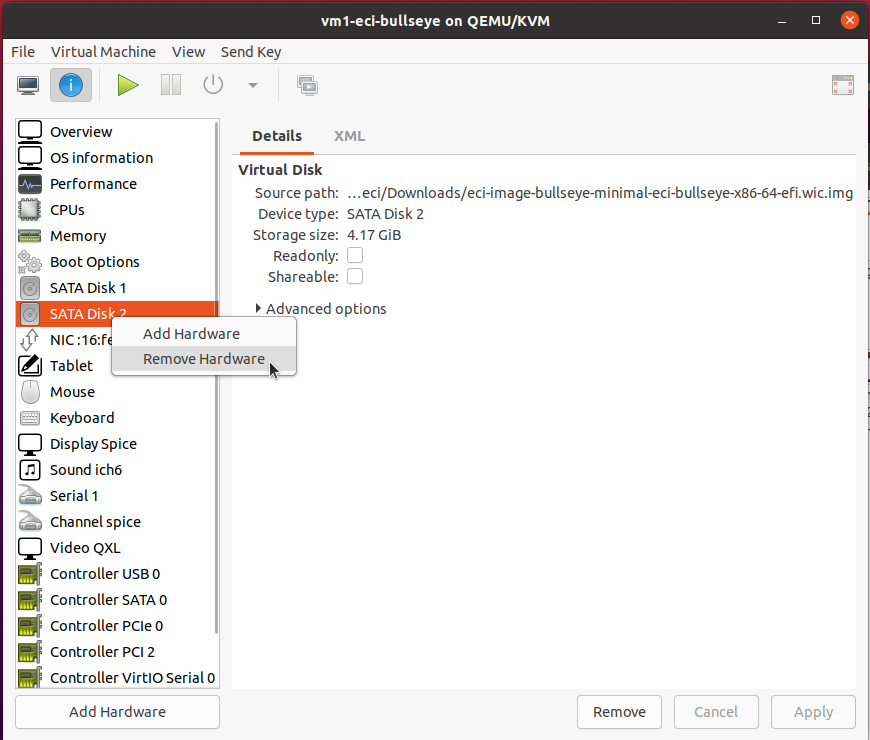
At this point, you can boot the VM and use the ECI image.