Deploying RHEL with ECI DNF Repository
![]()
Prepare Target System with RHEL
The section is applicable to:

To leverage all ECI features, the target system should meet the recommended system requirements.
Do the following to prepare the target system:
To achieve real-time determinism and utilize the available Intel® silicon features, you need to configure certain BIOS settings. Reboot the target system and access the BIOS (press the delete or F2 keys while booting to open the BIOS menu).
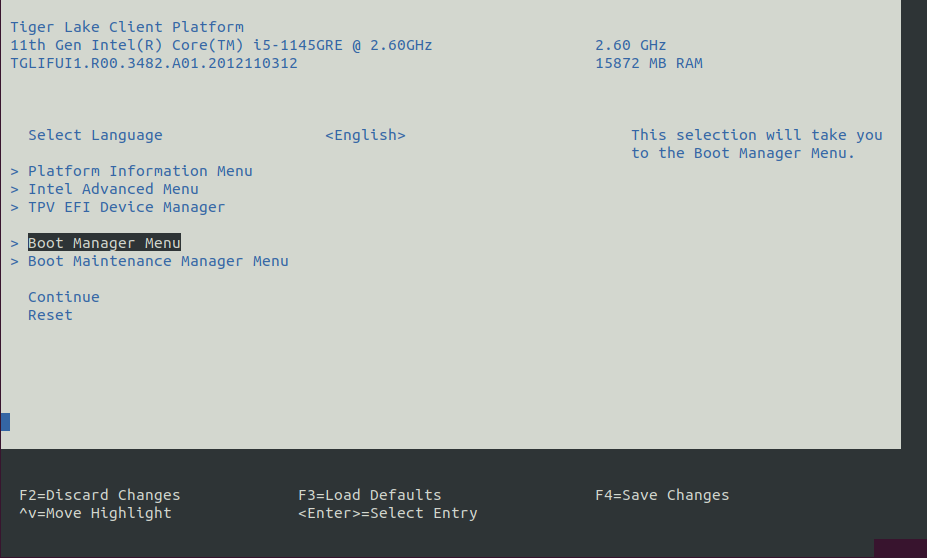
Select Restore Defaults or Load Defaults, and then select Save Changes and Reset. As the target system boots, access the BIOS again.
Modify the BIOS configuration as listed in the following table.
Note: The available configurations depend on the platform, BIOS in use, or both. Modify as many configurations as possible.
Setting Name
Option
Setting Menu
Hyper-Threading
Disabled
Intel Advanced Menu ⟶ CPU Configuration
Intel (VMX) Virtualization
Disabled
Intel Advanced Menu ⟶ CPU Configuration
Intel(R) SpeedStep
Disabled
Intel Advanced Menu ⟶ Power & Performance ⟶ CPU - Power Management Control
Turbo Mode
Disabled
Intel Advanced Menu ⟶ Power & Performance ⟶ CPU - Power Management Control
C States
Disabled
Intel Advanced Menu ⟶ Power & Performance ⟶ CPU - Power Management Control
RC6 (Render Standby)
Disabled
Intel Advanced Menu ⟶ Power & Performance ⟶ GT - Power Management Control
Maximum GT freq
Lowest (usually 100MHz)
Intel Advanced Menu ⟶ Power & Performance ⟶ GT - Power Management Control
SA GV
Fixed High
Intel Advanced Menu ⟶ Memory Configuration
VT-d
Enabled* (see footnote)
Intel Advanced Menu ⟶ System Agent (SA) Configuration
PCI Express Clock Gating
Disabled
Intel Advanced Menu ⟶ System Agent (SA) Configuration ⟶ PCI Express Configuration
Gfx Low Power Mode
Disabled
Intel Advanced Menu ⟶ System Agent (SA) Configuration ⟶ Graphics Configuration
ACPI S3 Support
Disabled
Intel Advanced Menu ⟶ ACPI Settings
Native ASPM
Disabled
Intel Advanced Menu ⟶ ACPI Settings
Legacy IO Low Latency
Enabled
Intel Advanced Menu ⟶ PCH-IO Configuration
PCH Cross Throttling
Disabled
Intel Advanced Menu ⟶ PCH-IO Configuration
Delay Enable DMI ASPM
Disabled
Intel Advanced Menu ⟶ PCH-IO Configuration ⟶ PCI Express Configuration
DMI Link ASPM
Disabled
Intel Advanced Menu ⟶ PCH-IO Configuration ⟶ PCI Express Configuration
Aggressive LPM Support
Disabled
Intel Advanced Menu ⟶ PCH-IO Configuration ⟶ SATA And RST Configuration
USB Periodic SMI
Disabled
Intel Advanced Menu ⟶ LEGACY USB Configuration
VT-dis required by most virtualization solutions (KVM, RTH Hypervisor, ACRN Hypervisor, etc.), so set toenabledfor greatest compatibility. However, if you know that virtualization will not be used, you can safely setVT-dto disabled.
Adding ECI DNF Repository
To add the ECI DNF repository to RHEL, it is recommended to use an rpm-ostree based deployment. The RHEL Image Builder tool is capable of producing an rpm-ostree image with external repositories, and is used to accomplish this goal. Alternatively, is it possible to add external repositories using the DNF Package Manager, but you may find this method to be more maintenance in the long run. Select the tab below corresponding to your desired method.
This section explains the procedure to configure the RHEL Image Builder with the hosted ECI DNF repository.
Make sure that you have prepared the target system.
Follow the steps to install and use RHEL Image Builder.
When you arrive at the step to add custom third-party repositories, create a repository source file for the ECI DNF Repository using the following URL:
https://eci.intel.com/repos/rhel/9/x86_64
For example:
id = "intel-eci"
name = "Intel Edge Controls for Industrial"
type = "yum-baseurl"
url = "https://eci.intel.com/repos/rhel/9/x86_64"
check_gpg = true
gpgkeys=["https://eci.intel.com/repos/gpg-keys/GPG-PUB-KEY-INTEL-ECI.gpg"]
Complete the remaining process to create a RHEL system image with the RHEL Image Builder.
Deploy the RHEL system image to your target system.
This section explains the procedure to configure the DNF package manager to use the hosted ECI DNF repository.
Make sure that you have prepared the target system.
Open a terminal prompt which will be used to execute the remaining steps.
Use the
config-managertool to add the ECI DNF repository to the system:$ sudo dnf config-manager --add-repo https://eci.intel.com/repos/rhel/eci-el9.repo
Verify the ECI DNF repository was correctly added. Run the following command and verify that the ECI DNF repository
eci-el#-rpmis present:$ dnf repolist
repo id                          repo name
eci-el9-rpm                      Intel Edge Controls for Industrial - EL9
What Next after Deploying RHEL with ECI DNF Repository
After completing the ECI DNF repository setup, proceed to Install Real-time Linux Kernel.