Microservice: Xorg Display Server
The following section describes how to integrate a containerized an Xorg display server. These instructions assume an existing ECI installation, familiarity with building Docker containers and using a Display Server.
Building: Xorg Container
The following section is applicable to:

The following steps detail how to build a Docker image which contains an Xorg display server.
If not already completed, follow section Prepare the Build System for Microservices to prepare the build system.
Open a terminal on the build system and navigate to the extracted
Dockerfilesdirectory. The contents of this directory should be as follows:$ ls application-containers bpf display-containers softplc-containers
Navigate to the
display-containersdirectory. The contents of this directory should be as follows:$ ls display-server-weston display-server-xorg qt5-examples
Navigate to the
display-server-xorgdirectory. The contents of this directory should be as follows:$ ls Dockerfile README.md start.sh
Build the Xorg display server container by performing the following command:
$ docker build -t display-server-xorg:v1.5 .
Note
The “.” at the end of the command is intentional.
Save the Docker image as a tar archive by performing the following command:
$ docker save -o display-server-xorg.tar display-server-xorg:v1.5
After the save has completed successfully, there will be a tarballed Docker image:
Docker Image archive name
Description of Docker Image
display-server-xorg.tar
Docker image which contains an Xorg display server.
Executing: Xorg Container
The following section is applicable to:

Ensure that the Docker daemon is active. Run the following command to restart the Docker daemon.
Warning
All running Docker containers will also restart.
$ systemctl restart docker
The status of the Docker daemon can be verified with the following command:
$ systemctl status docker
Copy the Docker image created earlier to the target system.
Load the copied Docker image by performing the following command:
$ docker load < display-server-xorg.tar
Check which Docker images are present on the target system with the following command:
$ docker images
The Xorg Display Server image that was loaded should be present in the list. Note the name and tag of the image for use in the following steps.
For example, on our system the output is as follows:
$ docker images
REPOSITORY            TAG                 IMAGE ID            CREATED             SIZE
display-server-xorg   v1.5                892a3d02d2a0        49 seconds ago      913MB
Graphic applications will communicate with the server through a file socket under
/tmp, this is why/tmpis mounted into this container with-v /tmp:/tmp.The detection of input peripheral with udev relies on accessing
/run/udev/data, this is why this directory is also mounted with-v /run/udev/data:/run/udev/data.Run the container by performing the following command:
$ docker run -d --rm \
  --name display-server-xorg \
  --privileged \
  -v /run/udev/data:/run/udev/data \
  -v /tmp:/tmp \
  display-server-xorg
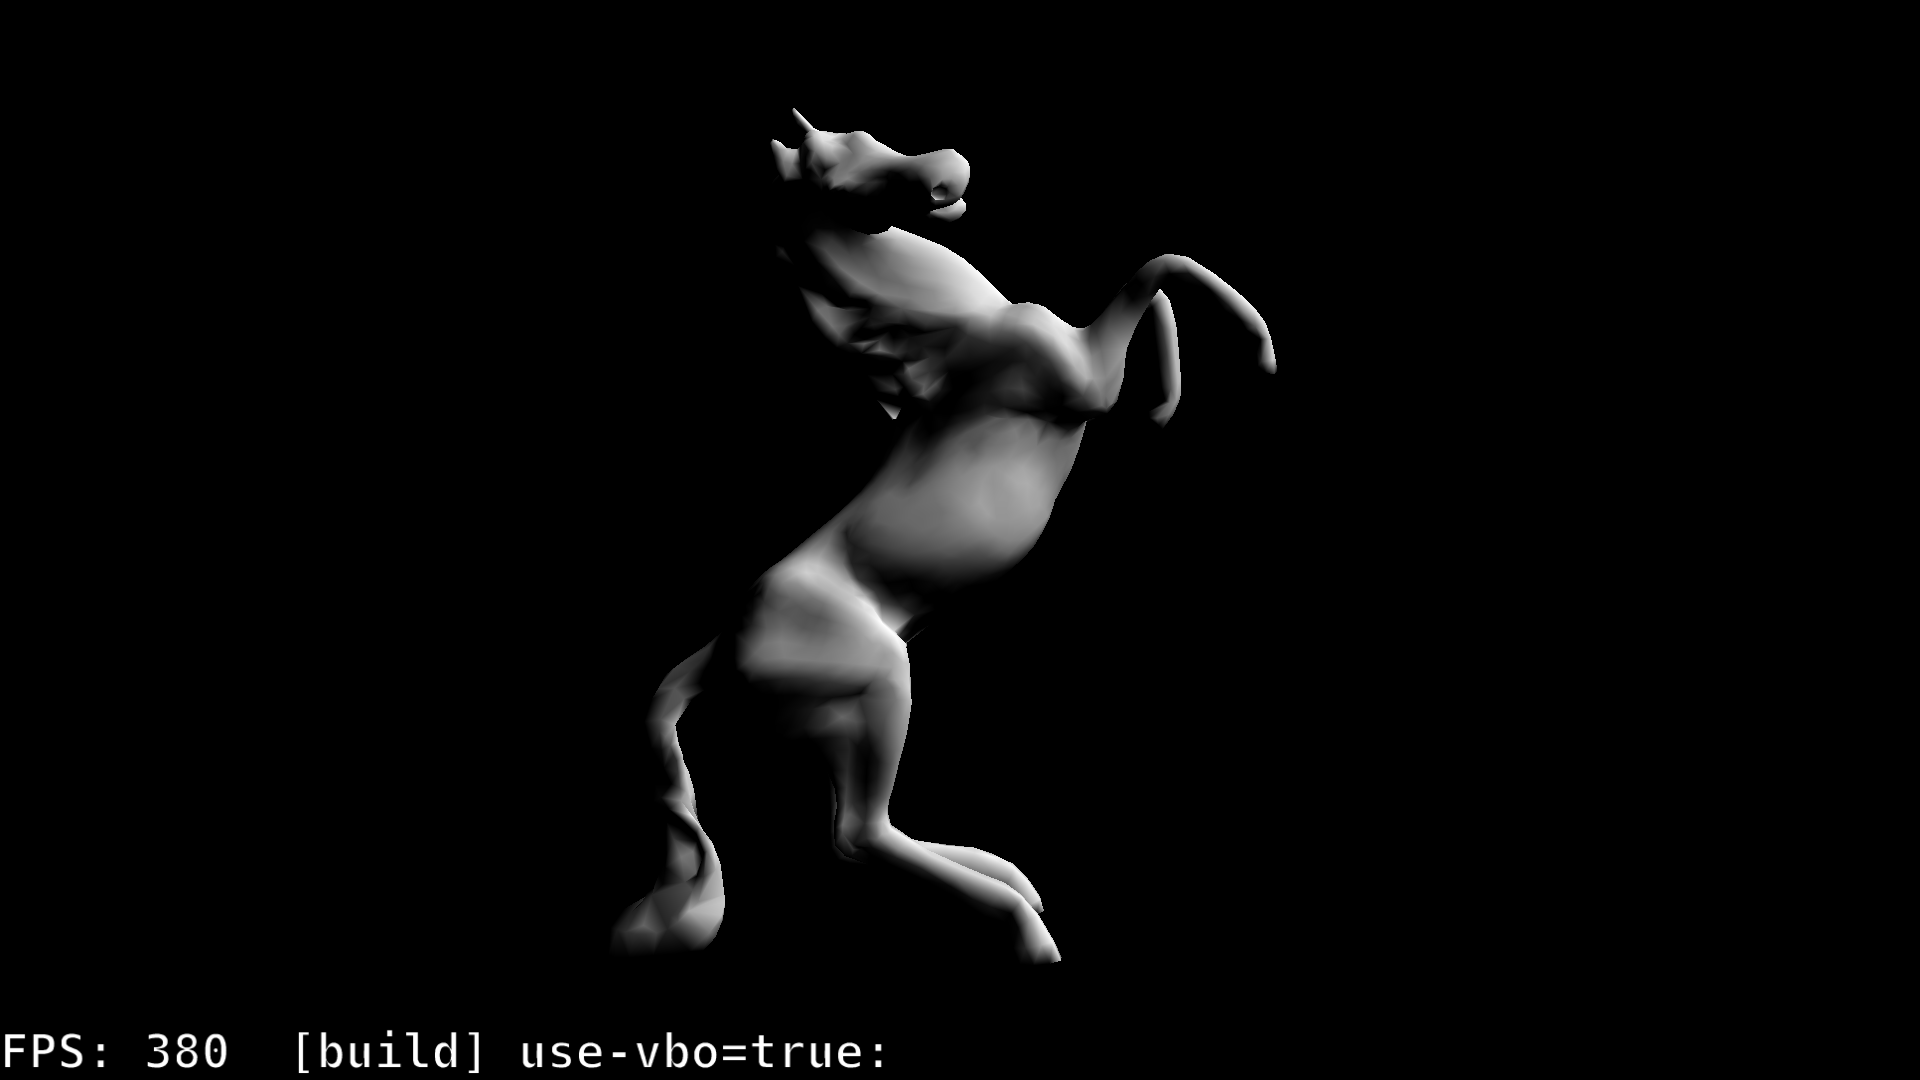
The frame buffer console disappears and is replaced by a black surface. To start the display server and run the
glmark2benchmark, calldocker runwith this extra parameter:-e START_GLMARK2=1. This will start a sequence of scenes rendered in full screen, starting with a 3D horse model rotating.
