Microsoft® Windows® Desktop RTH virtualized-mode GPOS
rts-buster image make generic assumptions about the desired Microsoft® Windows® Desktop GPOS. Modification to the ECI-R templates /boot/rth/WindowsEFI_Linux64.txt or /boot/rth/pos-rt/WindowsEFI_Linux64_<nvme0n1pY|sdY>.txt and /boot/rth/pos-xe/WindowsEFI_Linux64_<nvme0n1pY|sdY>.txt instances, may be necessary for customizing the GPOS.
Note
EFI installations of Microsoft® Windows® older than Microsoft® Windows® 10 or Microsoft® Windows® Server 2016 are not supported and need to be installed on legacy BIOS. The Microsoft® Windows® Desktop RTH virtualized-mode GPOS is installed as a UDMF driver when the setup MSI script. (please refer to the corresponding section below)
The following section is applicable to:

Preconditions for RTH Windows®
Microsoft® Windows® 10 is installed and meets the following requirements:
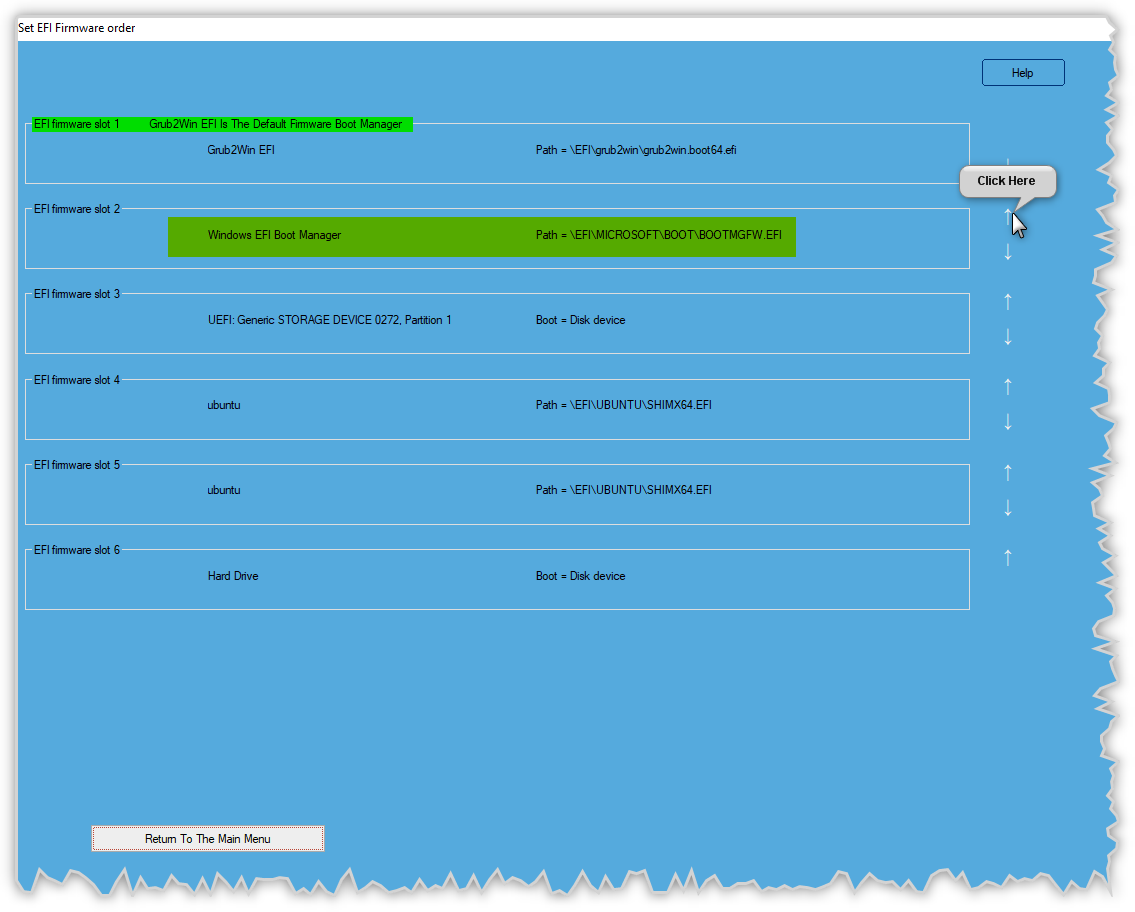
Grub Installation for Windows based on EFI
Microsoft® Windows® 10 is installed on a SATA HD and SATA mode is set to AHCI mode in BIOS.
Edit RTH Windows® settings manually
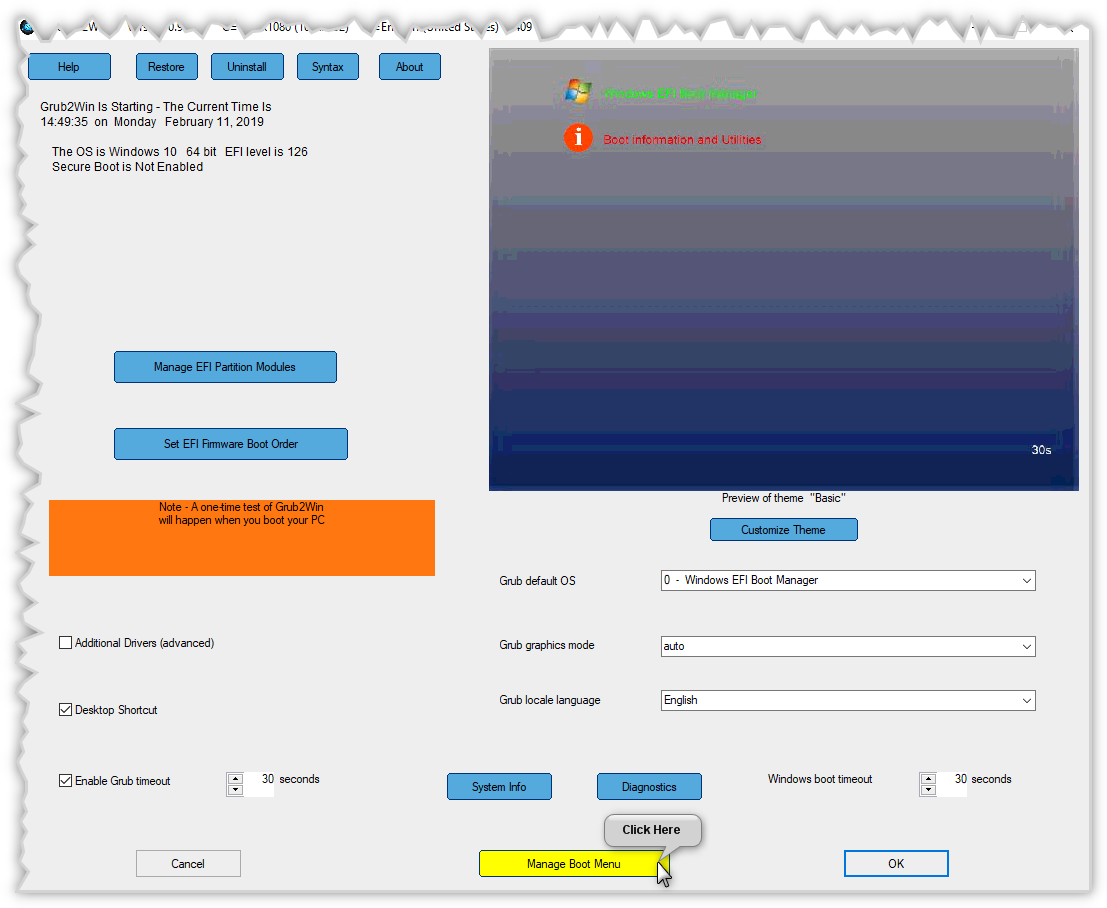
extract Grub\Windows\grub2win\0.9.8.9and run setup

Open the grub2win application configuration file and setup


Create a new grub entry, or copy and modify an existing one
choose a title, e.g.
Real-Time Hypervisor - Windows 10 Pro & Control-Stack 1.0 BKC.
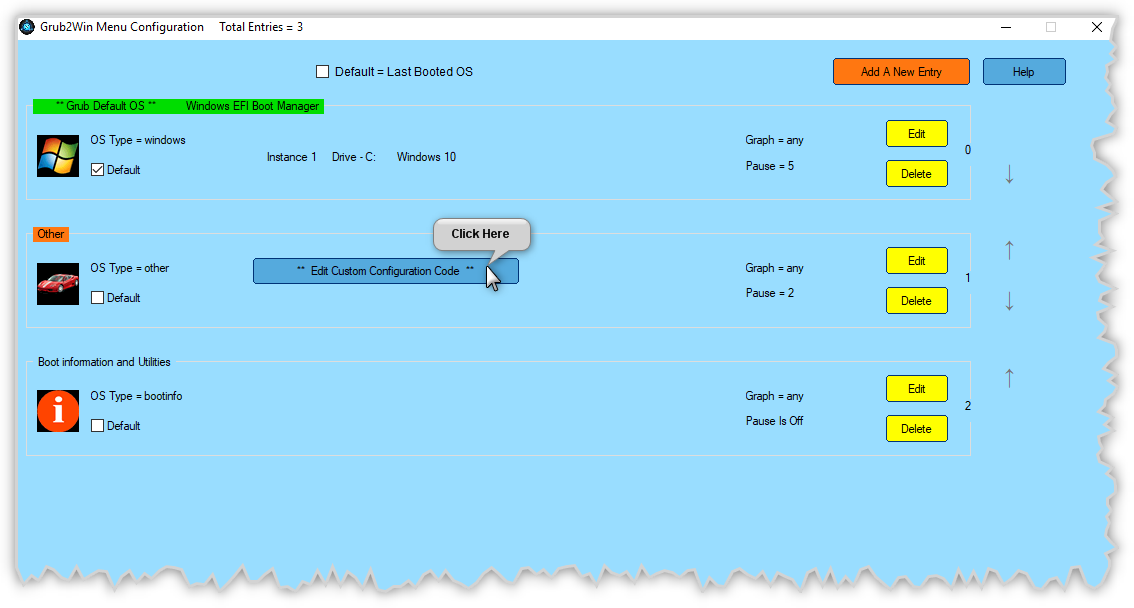
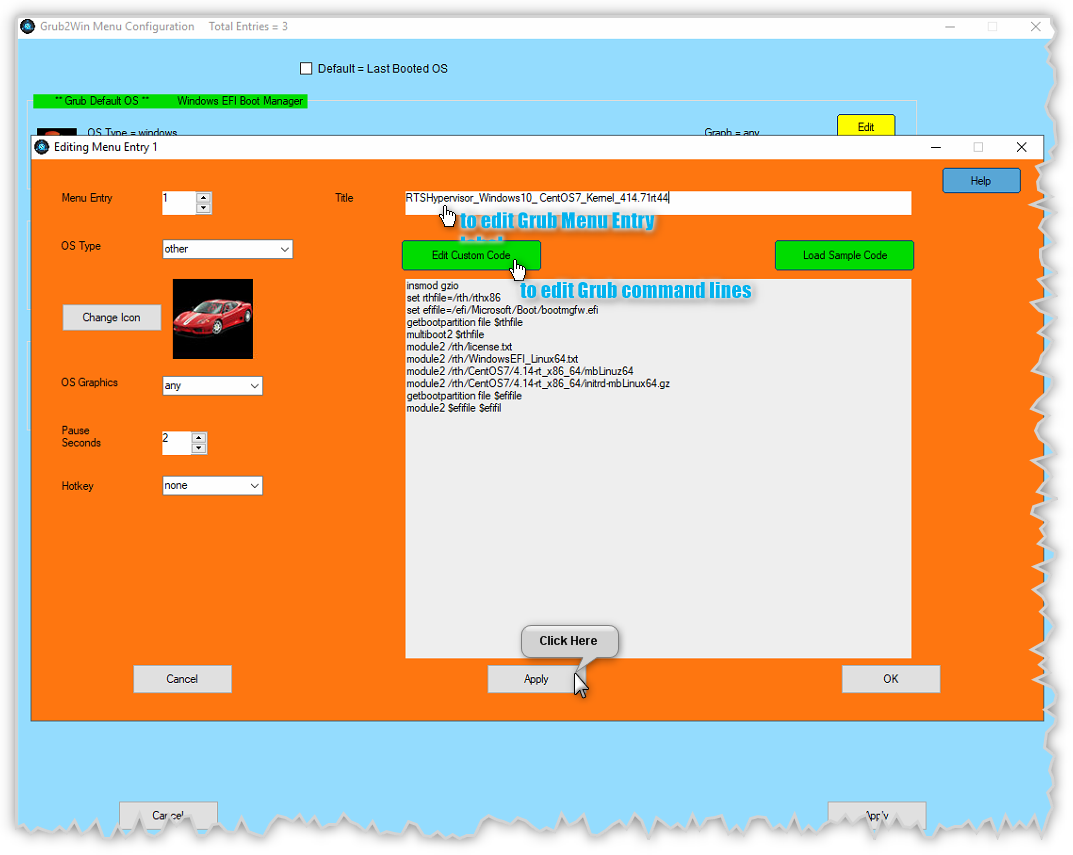
Edit custom.temp.txt into default windows editor and add the new entry like this:
configure
/rth/rthx86as kernel.configure
/rth/license.txtand/rth/Windows_Linux64.txtas modules.configure Linux kernel (vmlinuz) and ramdisk (initrd) as modules.
configure any other operating system images to be started by the Hypervisor as modules.
insmod gzio
set rthfile=/rth/rthx86
set efifile=/efi/Microsoft/Boot/bootmgfw.efi
getbootpartition file $rthfile
multiboot2 $rthfile
module2 /rth/license.txt
module2 /rth/WindowsEFI_Linux64.txt
module2 /rth/mbLinuz-5.4.59+gitAUTOINC+b8c82ba373_3747758c5c-r0-intel-corei7-64-20201125084606.bin mbLinuz64
module2 /rth/ecs-image-base-poky-rth-initramfs-intel-corei7-64-20201126164655.rootfs.cpio.gz initrd-mbLinux64.gz
getbootpartition file $efifile
module2 $efifile $efifile
Apply the changes
Hypervisor setup
In order to install the Real-Time Hypervisor, perform the following steps:
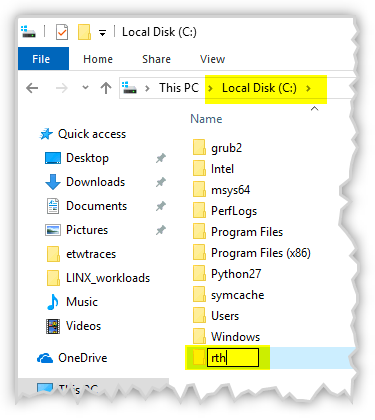
From the Real-Time Hypervisor Software Release Package
Hypervisorfolder copy all files including sub-directories and their content into the folderC:\rth
Open the Hypervisor configuration file
C:\rth\WindowsEFI_Linux64.txt.Note
Make sure that configured image names are identical to the module names in
grub.confrespectively. You must modify the Linux command line by changing thebootlineentry in the Hypervisor Configuration File (HCF)WindowsEFI_Linux64.txt.Note
Configure your Linux Kernel (vmlinuz) as
image_0and your ramdisk asimage_1.
Your RTS x86 Hypervisor configuration file now should look similar to this:
# RTH CONFIG
################################################################################
# System
#
[/SYSTEM]
    "IOMMU"          = uint32: 0    # set to 1 to restrict device memory access
    "security_level" = uint32: 0    # set to 1 to restrict API permissions
    "CPU_resource_partitioning" = uint32: 0     # set to 1 to optimize
                                                # CPU resource usage
################################################################################
# OS
#
[/OS/0]
    "name"          = "Windows Desktop"
    "boot_priority" = uint32: 2     # start after Linux
    "virtualized"   = uint32: 1
    "memory_size"   = uint64: 0x100000000    # 4GB
    "trace_partition_number" = uint32: 0    # write log to /SHM/0

    [/OS/0/RUNTIME/0]
        "image_0" = "bootmgfw.efi"

[/OS/1]

    "name"          = "Privileged RTOS"
    "boot_priority" = uint32: 2             # start second
    "memory_size"   = uint64: 0x80000000    # 2000 MB
    "virtual_MMU"   = uint32: 1             # set to 1 to restrict memory access
    "restricted_IO" = uint32: 1             # set to 1 to restrict I/O access
    "CPU"           = bytelist: 3,4           # e.g. two CPUs: bytelist: 3, 4

    "virtual_COM-to-log_port" = uint32 : 0x3F8
    "trace_partition_number" = uint32: 1    # write log to /SHM/1

    [/OS/1/RUNTIME/0]

        "bootline" = "diskroot=/dev/hda4 ip=192.168.2.2:::::vnet0  debug=all verbose=all random.trust_cpu=on console=tty0 console=ttyS0,115200n8"
        "image_0"  = "mbLinuz64"
        "image_1"  = "initrd-mbLinux64.gz"

################################################################################
# Interrupts
#
[/IRQ]
    "default" = uint32: 0   # default is Windows

################################################################################
# PCI
#
[/PCI]
    "default" = uint32: 0   # default is Windows

    "auto_interrupt_mode" = uint32: 1   # automatically use MSI to avoid conflicts

# i225 Device assignment with vendor ID / device ID and MSI Mode
[/PCI/0]
    "OS"         = uint32: 1
    "vendor_ID"  = uint32: 0x8086
    "device_ID"  = uint32: 0x15f2
    "interrupt_mode" = uint32: 2

# i210 Device assignment with vendor ID / device ID and MSI Mode to Yocto linux-rt
[/PCI/1]
    "OS"         = uint32: 1
    "vendor_ID"  = uint32: 0x8086
    "device_ID"  = uint32: 0x1533
    "interrupt_mode" = uint32: 2
...

################################################################################
# Shared Memory
#
[/SHM/0]
    "name" = "trace_windows"
    "size" = uint64: 0xF000

[/SHM/1]
    "name" = "trace_1"
    "size" = uint64: 0xF000
Note
Optionally you can add “ip=W.X.Y.Z/A.B.C.D” to your bootline. Replace W.X.Y.Z with an IP address and A.B.C.D with a subnet mask that you want to assign to the vnet adapter in Linux. If you omit the “ip=” parameter then the default is used
Install RTH Windows® Virtualized-mode BSP
From the Real-Time Hypervisor Software Release Package
\BSP\Windowsfolder copy the fileSetup.exeto the folderC:\rth\and start the setup by double clickingSetup.exe. Follow the instructions.
Note
Setup.execontains all files for 32Bit and 64Bit versions of Windows. It replaces the MSI installers used in previous releases. If you need MSI or MSM files please contact technical support at Real-Time Systems.
Shut down and restart PC, select the new configuration entry in boot loader menu.
After Reboot you should see a boot menu with multiple boot options, like “Windows 10” and “Real-Time Hypervisor - Windows 10 Pro & Control-Stack 1.0 BKC”.
Start the Hypervisor configuration with two operating systems.
When opening a Command Prompt (cmd) in Windows, you should now be able to
ping 192.168.2.2your second operating system at the following default IP Address of 192.168.2.2.Executing the
readtrace.exeprogram in a Command Prompt (cmd) will show all boot messages of the Hypervisor also providing detailed information about your system.